12 13
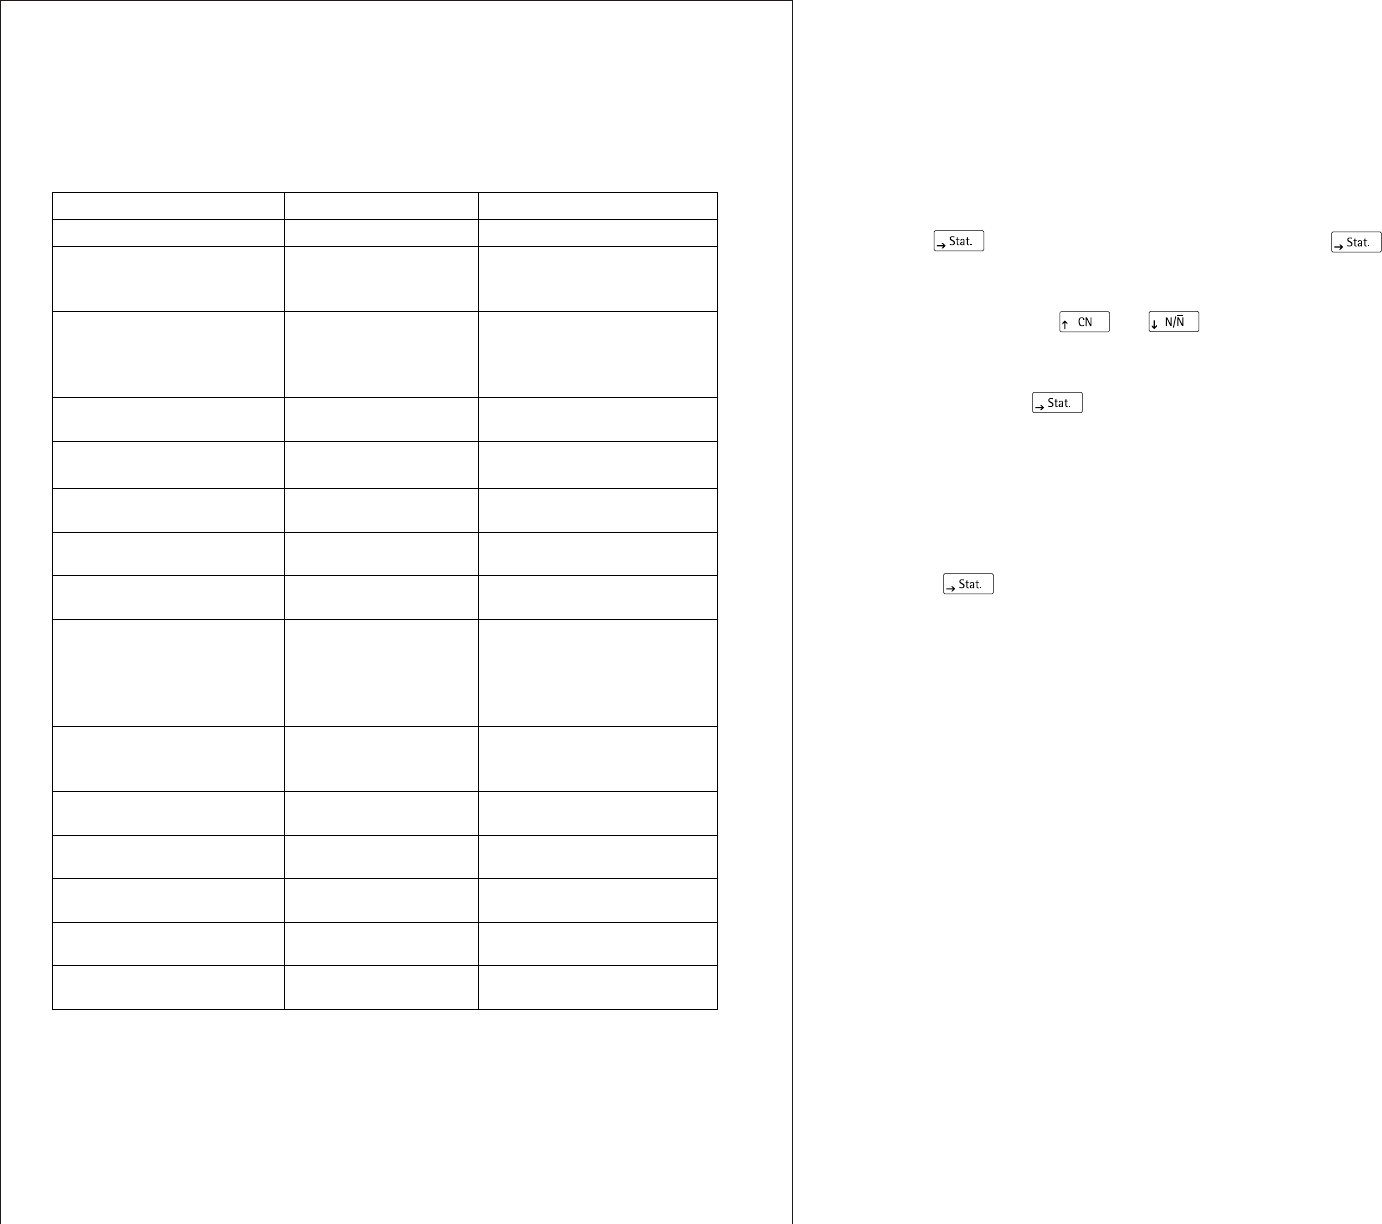
DESIGNATION DISPLAY SETTING OPTION
Passcode PASSCODE: 100--9999
Data transmission baud
rate (baud rate)
BAUD RATE: 1200,2400,4800,
9600,19200
Parity PARITY: Odd
Even
Space
None
RS-232C handshake
RS232 HANDSHAKE
MODE:
0 = hardware, 1 = software
Print using <CR, LF>
-PI- PRINT USING
CR-LF:
0 = no, 1 = yes
Print flush, right-/
left-hand margin
-P2- PRINT FLUSH
MARGIN:
0 = right, 1 = left
Print
Decimal points/commas
-P3- DECIMAL /
COMMA:
0 = decimal points, 1 =
commas
Numbering function on/off
-P4- NUMBERING
FUNCTION:
0 = off, 1 = on
Inverse printing
-P5- INVERT PRINT no inverse printing,
last digit inverse,
last 2 digits inverse,
last 3 digits inverse
Manual/automatic data
transfer
-P6- TRANSFER
DATA:
0 = manual (indiv.) data
transfer
1 = automatic data transfer
Date/time when printer
starts
-P7- TIME-DATE
PRINT:
0 = no, 1 = yes
Print VARTEXT1
when printer starts
-P8- VARTEXT1
PRINT:
0 = no, 1 = yes
Print VARTEXT2
when printer starts
-P9- VARTEXT2
PRINT:
0 = no, 1 = yes
Time display
-C1-TIME DISPLAY
FORMAT
12, 24 hours
Date/time display
-C2- DISPLAY RTC 0 = date, 1 = time
Statistics Menu
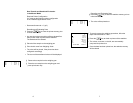
How to enter into Statistics Menu?
Press button for 5 sec at stand by mode or Press button
for 2 sec when printer is switched on.
Then printer will enter into setting mode of Statistics Menu.
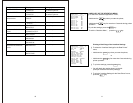
Then with the help of and ,the value will increase and
decrease respectively from “-S1-” to “-S11-”.
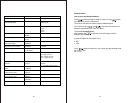
To set the Print Read Count:
After pressing the button the cursor will display previous
setting of the machine
It gives the option for Print Read Count:
0: NO
1: YES
Press button to select any one of them and the selected value
will show “.” sign.
EX: .0: NO


