4-22 Removal and Replacement Procedures
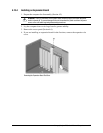
1. Prepare the computer for disassembly (Section 4.2).
WARNING:
Power is continuous to the system board and power supply even when the power
switch is turned off. To prevent damage to the unit, disconnect the power cord from the power
source or the unit before beginning disassembly procedures.
2. Lay the computer down on its large base for greater stability.
3. Remove the access panel (Section 4.6).
4. Remove the front bezel (Section 4.7).
5. Remove all of the drives from the computer (Sections 4.11.1, 4.11.2, and 4.11.3).
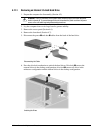
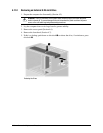
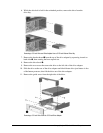
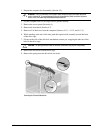
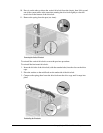
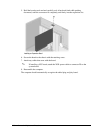
6. While standing at the rear of the unit, push the top drivelock assembly toward the front
of the drive cage.
7. Lift up on the side of the drivelock mechanism nearest you, snapping the tabs out of the
holes in the drive cage.
CAUTION:
The spring contained under the drivelock mechanism may pop out unexpectedly.
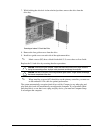
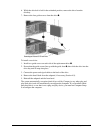
8. Remove the drivelock from the drive cage.
9. Remove the spring from the drivelock (see inset).
Removing the Drivelock Mechanism


