


Linux Installation and Configuration Guide for AlphaServer 72
ECG513/0100
OpenVMS PALcode V1.61-22, Digital UNIX PALcode V1.54-20
FF.FE.FD.FC.FB.FA.F9.F8.F7.F6.F5.F3.F2.F1.F0.EF.EE.ED.EC.EB.EA.E9.F4.E8.E
7.E6.E5.E4.
COMPAQ Professional Workstation XP1000 Console V5.5-7
built on Jul 22 1999 at 11:10:07
>>>
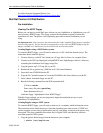
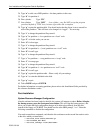
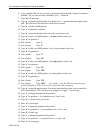
2. Determine what devices your system has installed. In particular you will need to note your
installation device (a floppy and/or CD-ROM), and your target disk drive. Entering the
command "show devices" as shown below will print out the information about your system:
>>>show device
dka0.0.0.6.1 DKA0 RZ2CC-KA 5520
dka100.1.0.6.1 DKA100 RZ2CC-KA 5520
dqa0.0.0.107.0 DQA0 TOSHIBA CD-ROM XM-6202B 1110
dva0.0.0.0.0 DVA0
ewa0.0.0.3.1 EWA0 00-00-F8-71-53-F5
ewb0.0.0.12.0 EWB0 00-00-F8-1E-86-8F
pka0.7.0.6.1 PKA0 SCSI Bus ID 7 5.57
pkb0.7.0.2009.1 PKB0 SCSI Bus ID 7 5.57
In the output above, the first line shows that DKA0 is a hard disk, DQA0 is a CD-ROM, and
DVA0 is a floppy drive.
Also useful for inspecting the computer configuration is the "show config" command, as
shown here:
>>>show config | more
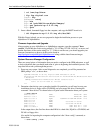
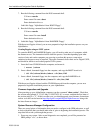
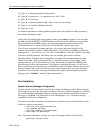
3. Configure the system SRM parameters to boot from your installation device. The commands
for configuring to boot from the floppy device are shown here:
>>>set bootdef_dev dva0
>>>set boot_file vmlinux.gz
>>>set boot_osflags "root=/dev/fd0 load_ramdisk=1"
>>>show boot*
boot_dev dva0.0.0.0.0
boot_file vmlinux.gz
boot_osflags root=/dev/fd0 load_ramdisk=1
boot_reset OFF
bootdef_dev dva0.0.0.0.0
booted_dev
booted_file
booted_osflags
4. Insert the boot floppy into the drive.
5. Boot the system using the "boot" command. The result should be that the system boots from
the floppy. You will eventually be prompted to replace the BOOT floppy with the RAMDISK
floppy.
If during this process you encounter a problem, such as due to a typographic error in the setting of
the SRM parameters, you will probably be stopped with an "aboot>" prompt. The best way to
deal with this situation is to reset the system using the reset button on the front panel. Then using
the SRM commands, correct the mistake, and repeat the "boot" process.
Software Installation
SuSE’s installation program is flexible. While it allows for autodetection of devices and autoload
of device drivers, it allows you to override the automatically configured parameters. Compaq’s
testing this Solutions Guide was performed using SuSE Version 6.1.