


Back to Contents Page
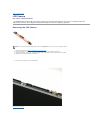
Heat Sink and Processor
Dell™Vostro™1220ServiceManual
Removing the Heat Sink and Processor
1. Follow the procedures in Before Working Inside Your Computer.
2. During installation or removal of ANY hardware, always ensure all data is backed up properly.
3. Remove the battery, hinge cover, keyboard, optical drive, LCD assembly, palm rest, Bluetooth®module, TPM module, hard drive, I/O panel board,
system fan, and system board from the computer.
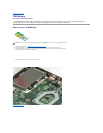
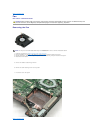
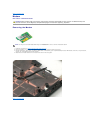
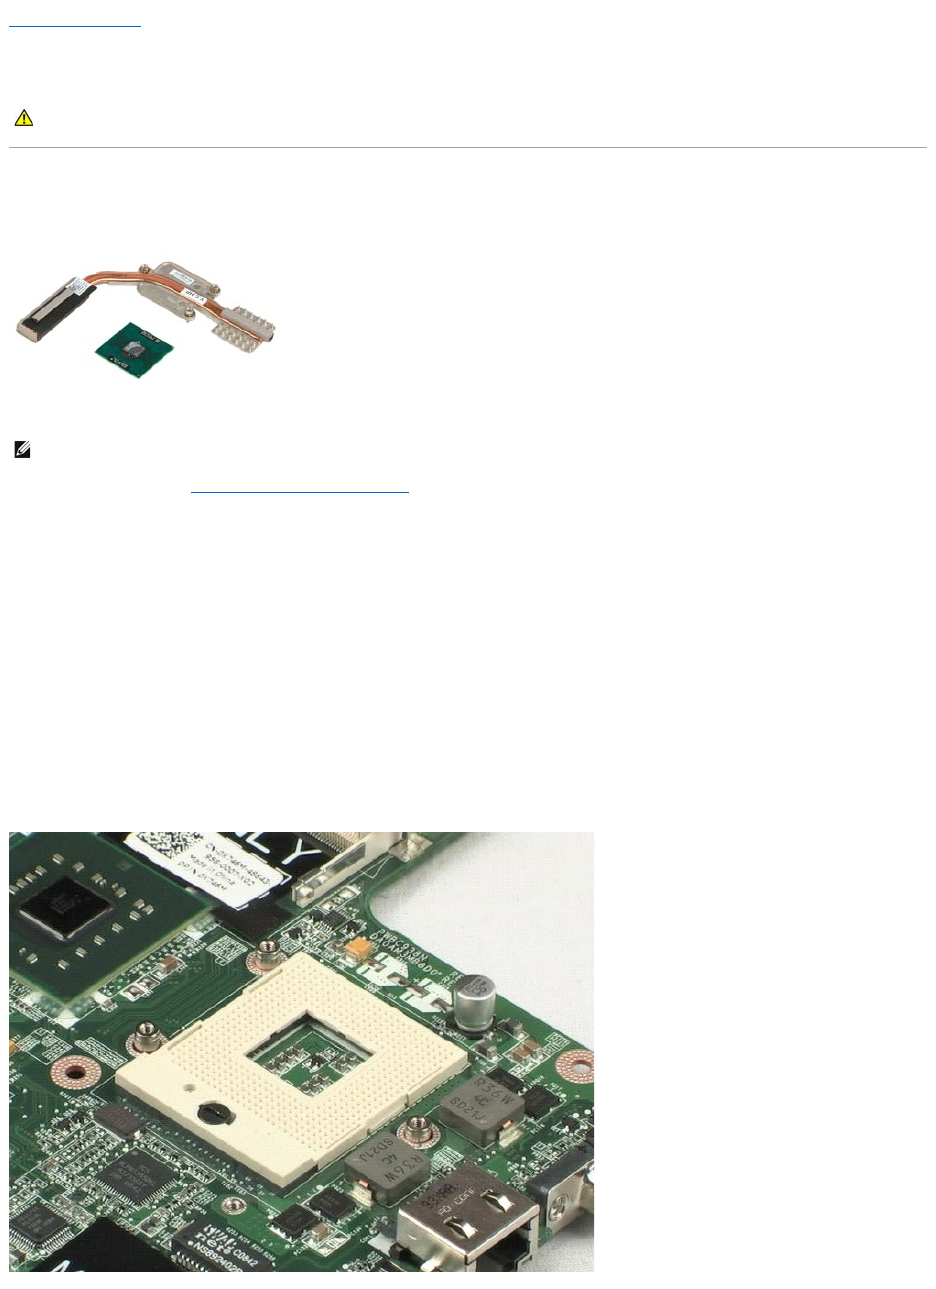
4. Loosen the three screws securing the heat sink to the system board.
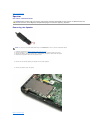
5. Lift the heat sink away from the system board.
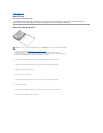
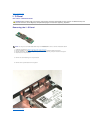
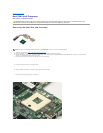
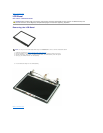
6. Using a flathead screwdriver, rotate the locking cam counter clockwise.
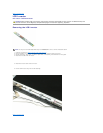
7. Lift and remove the processor out of its socket.
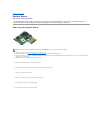
WARNING: Before working inside your computer, read the safety information that shipped with your computer. For additional safety best
practices information, see the Regulatory Compliance Homepage at www.dell.com/regulatory_compliance.
NOTE: You may need to install Adobe Flash Player from Adobe.com in order to view the illustrations below.