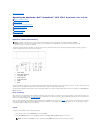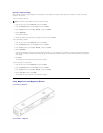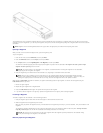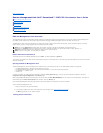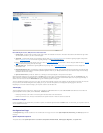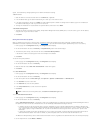
There are two white thumbwheels, located on each end of the magazine. You can move the slots within the magazine by turning these two white
thumbwheels and aligning a slot with one of the two openings. Do not rotate the magazine by inserting your hand and pushing the cartridge carriers. You can
use the openings in the magazine to load and unload cartridges from the eight slots within each magazine.
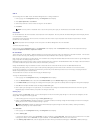
To load cartridges into a fully ejected magazine:
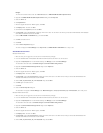
1. To load cartridges into the magazine, center a slot within one of the openings located on the side of the magazine.
2. Properly orient the cartridge; tape upright and bar code label facing outward.
3. Fully insert the cartridge into the slot.
When pushing the cartridge into the slot, you will feel a small resistance (detent) until the cartridge is properly latched into the slot. All forward progress
stops when the cartridge is fully inserted.
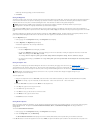
You can remove a cartridge in the same manner as you insert it. Use the white thumbwheels to center the desired slot(s) in the openings on the side of the
magazine. Do not rotate the magazine by inserting your hand and pushing the cartridge carriers. Using your thumb and index finger, pull out the cartridge. You
will feel a small resistance, but continue to pull the cartridge until it comes free.
To identify a slot:
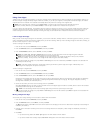
Each slot has an identification number that is exposed when the slots are in the upper section of the magazine. With the magazine removed from the
autoloader, you can see the identification mark on the top side of the magazine through one of two windows on the upper surface of the magazine. Each
magazine carrier is labeled 1/9, 2/10, 3/11, and so fourth. Lower numbers 1 - 8 reference slots in the left magazine. Higher numbers 9 - 16 reference slots on
the right magazine if the optional right magazine is installed.
Running an Inventory
The autoloader automatically runs an inventory whenever you power it back on or insert a magazine. An inventory checks each magazine slot, the drive, the
picker, and the media door (mailslot) to determine if a cartridge is present. If so, it also reads the bar code label, if available. If you need to run an inventory in
addition to this, you can do so manually.
To perform an inventory manually:
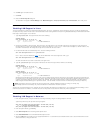
1. From the main menu, scroll to Commands, and then press Enter.
2. From the Commands submenu, scroll to Inventory, and then press Enter. The autoloader scans the bar codes of all the cartridges present.
Viewing Status Information
From the scrolling menu on the LCD, you can view the autoloader status, firmware version, element status, tape drive status, tape drive version, and Ethernet
information.
Viewing PowerVault 124T Autoloader Status
The autoloader status provides information about: whether a magazine is installed or not, SCSI connection status, Ethernet connection status, and whether
the bar code reader is enabled or not.
To view the autoloader status:
1. From the main menu, scroll to Status, and then press Enter.
2. From the Status submenu, scroll to Autoloader, and then press Enter.
3. From the Autoloader submenu, scroll to Status, and then press Enter. A list of messages similar to the following appears:
NOTICE: It is recommended that you fully remove the magazine to load and unload cartridges. If the magazine is not fully removed, do
not rotate the magazine.
NOTE: There is a keying feature in each slot that only allows you to fully insert the cartridge one way. Make sure there are no labels
adhering to the cartridge at any point other than the designated label area.
NOTE: No bar code labels can be read if there is a tape in the picker.
SCSI ID
A digit 0 through 7 (default 6).
The assigned SCSI ID for the autoloader.
Magazines
L=*
Asterisk indicates the left magazine is present.
R=*
Asterisk indicates the right magazine is present.
BC Reader
Yes
Bar code reader enabled
No
Bar code reader disabled


