40 Troubleshooting
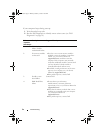
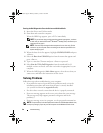
Starting the Dell Diagnostics From the Drivers and Utilities Media
1
Insert the
Drivers and Utilities
media.
2
Shut down and restart the computer.
When the DELL logo appears, press <F12> immediately.
NOTE: If you wait too long and the operating system logo appears, continue
to wait until you see the Microsoft
®
Windows
®
desktop; then, shut down your
computer and try again.
NOTE: The next steps change the boot sequence for one time only. On the
next start-up, the computer starts according to the devices specified in the
system setup program.
3
When the boot device list appears, highlight
CD/DVD/CD-RW
and press
<Enter>.
4
Select the
Boot from CD-ROM
option from the menu that appears and
press <Enter>.
5
Ty p e
1
to start the CD menu and press <Enter> to proceed.
6
Select
Run the 32 Bit Dell Diagnostics
from the numbered list. If
multiple versions are listed, select the version that is appropriate for your
computer.
7
When the Dell Diagnostics
Main Menu
appears, select the test that you
want to run, and follow the instructions on the screen.
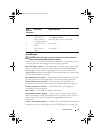
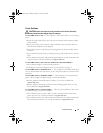
Solving Problems
Follow these tips when troubleshooting your computer:
• If you added or removed a part before the problem started, review the
installation procedures and ensure that the part is correctly installed
(see your
Service Manual
at
support.dell.com
).
• If a device does not work, ensure that the device is properly connected.
• If an error message appears on the screen, write down the exact message.
This message may help support personnel to diagnose and fix the
problem(s).
• If an error message occurs in a program, see the program documentation.
NOTE: The procedures in this document were written for the Windows default view,
so they may not apply if you set your Dell computer to the Windows Classic view.
book.book Page 40 Monday, February 2, 2009 12:48 PM


