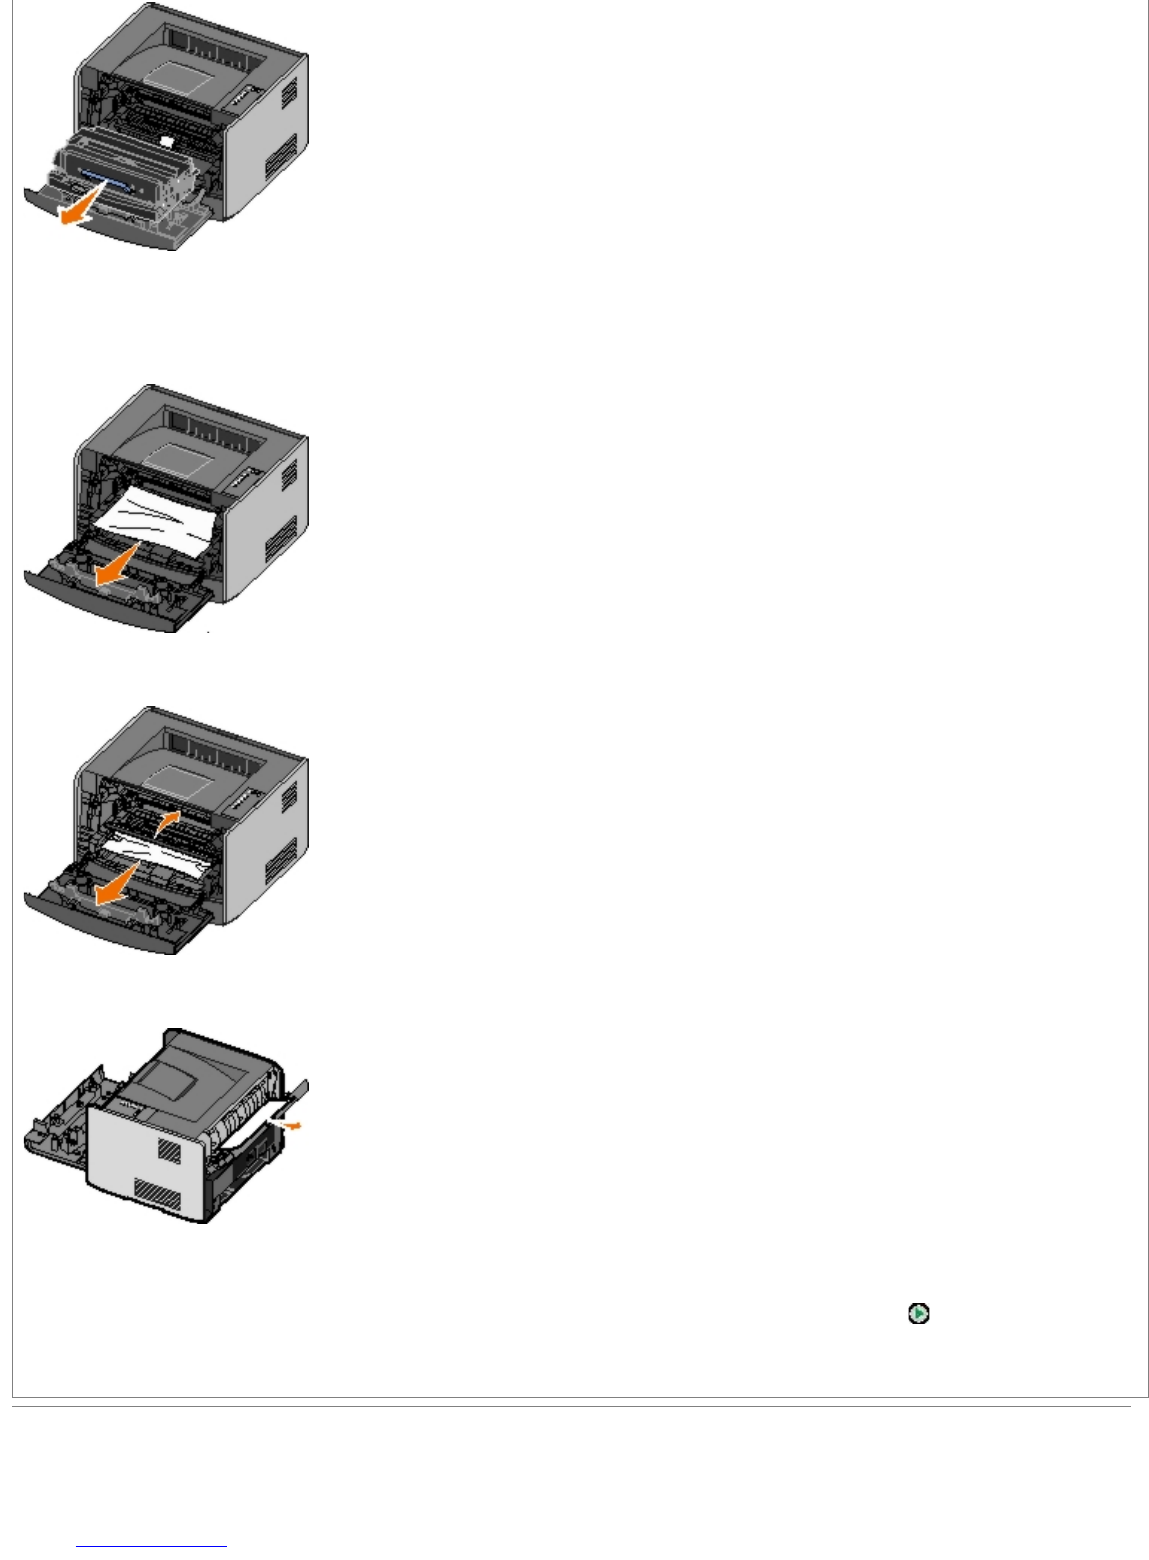
3. Remove any jams in the area behind the toner cartridge assembly.
4. Lift the flap at the front of the printer, and remove any jams beneath the flap.
5. Open the rear exit, and remove any jams.
6. Reinstall the toner cartridge assembly, and then close the front and rear covers.
7. Replace the paper trays, ensure that they are closed, and then press the Continue button
to resume printing.
NOTE: The printer reprints the pages that caused the paper jam.
Print Quality Problems
Use the following information to find solutions for printing problems you encounter. If you cannot fix the problem, contact
Dell at support.dell.com
. You may have a printer part that requires cleaning or replacement by a service technician.
NOTICE: Do not leave the toner cartridge assembly exposed to direct light for an extended period of time. Extended
light exposure can cause print quality problems.


