


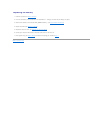

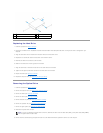


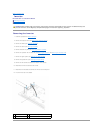
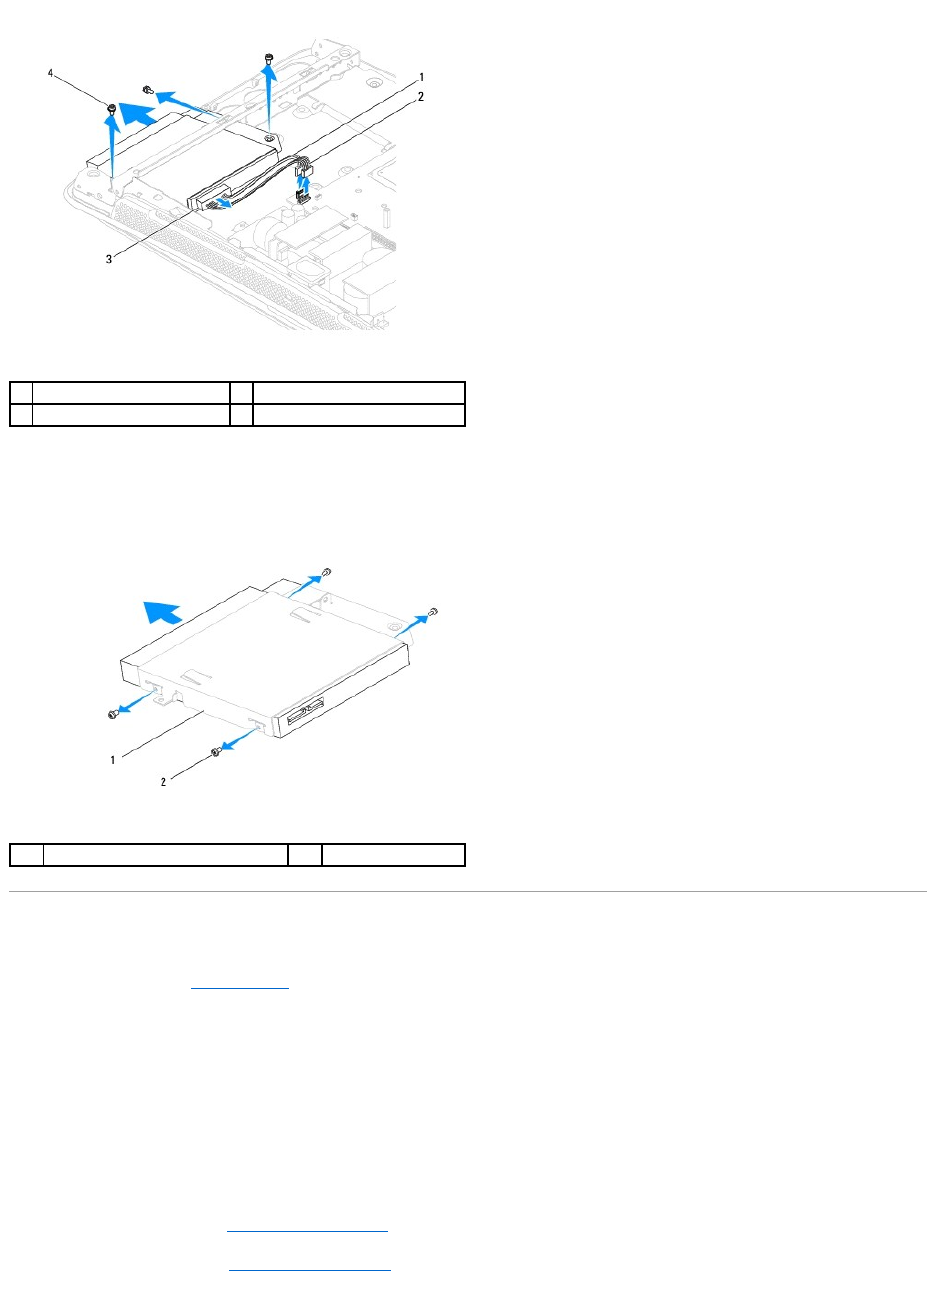
10. Remove the four screws securing the optical drive to the optical drive carrier.
11. Slide the optical drive out of the optical drive carrier.
Replacing the Optical Drive
1. Follow the procedures in Before You Begin.
2. Prepare the optical drive for installation and check the documentation that accompanied the drive to verify that the drive is configured for your computer.
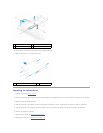
3. Slide the drive into the optical drive carrier.
4. Align the screw holes on the optical drive with the screw holes on the optical drive carrier, and replace the four screws that secure the optical drive.
5. Align the screw holes on the optical drive carrier with the screw holes on the chassis, and replace the three screws that secure the optical drive.
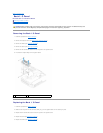
6. Reconnect the optical drive connector.
7. Replace the right speaker (see Replacing the Right Speaker).
8. Replace the processor fan (see Replacing the Processor Fan).
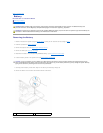
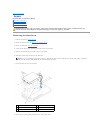
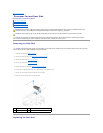
1
optical drive data cable
2
optical drive power cable
3
optical drive connector
4
screws (3)
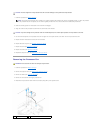
1
optical drive carrier
2
screws (4)