


Back to Contents Page
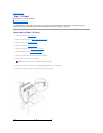
Side I/O Panel
Dell Studio One 19/1909 Service Manual
Removing the Side I/O Panel
Replacing the Side I/O Panel
Removing the Side I/O Panel
1. Follow the procedures in Before You Begin.
2. Remove the computer cover (see Removing the Computer Cover).
3. Remove the shield (see Removing the Shield).
4. Remove the stand (see Removing the Stand).
5. Remove the left speaker (see Removing the Left Speaker).
6. Remove the hard drive (see Removing the Hard Drive).
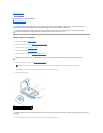
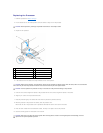
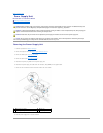
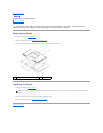
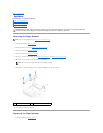
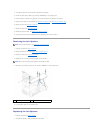
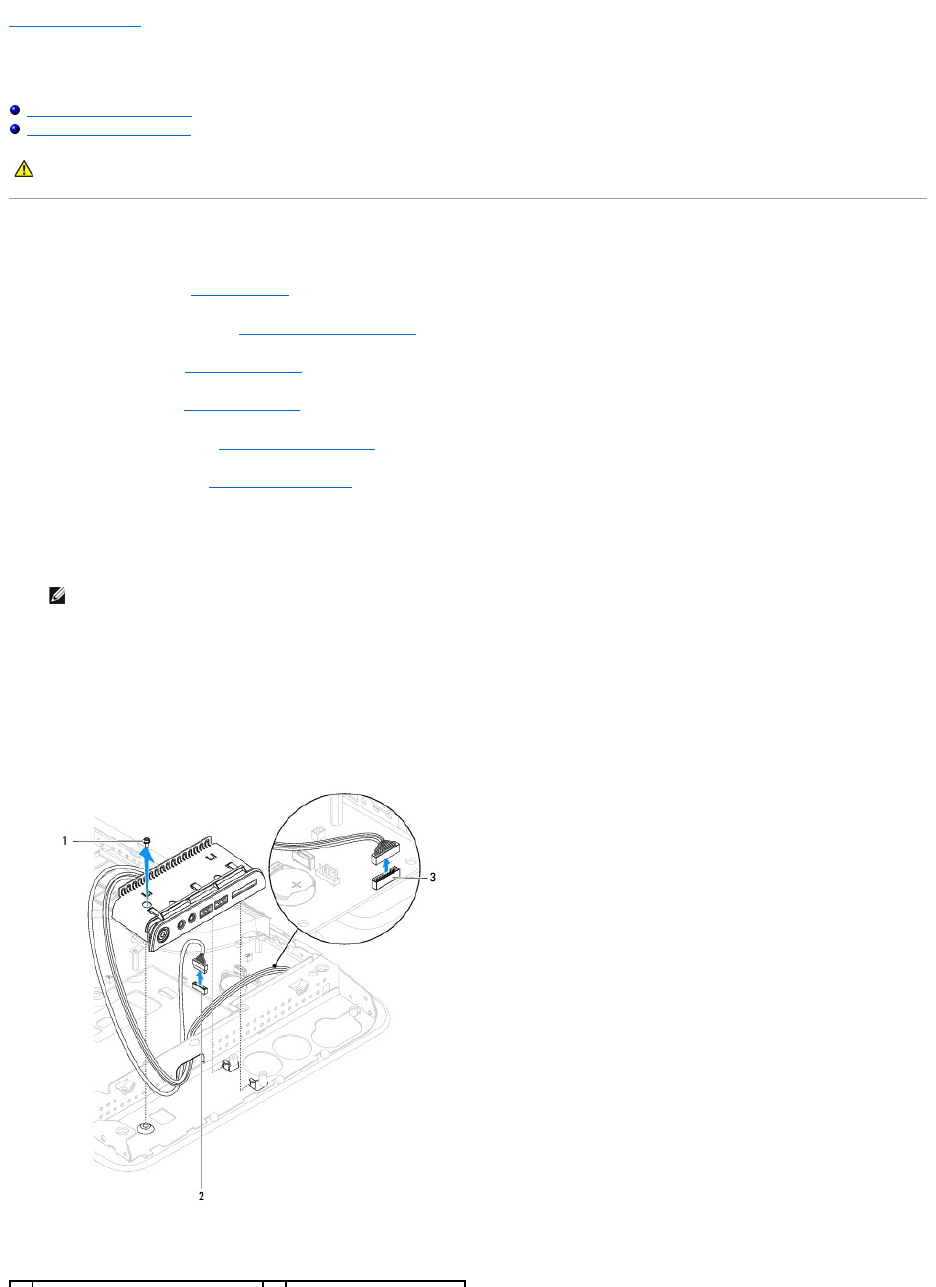
7. Remove the screw that secures the side I/O panel to the chassis.
8. Lift and pull the side I/O panel from the clamps
9. Disconnect the cables from the connectors (F_AUDIO and SIDE_BOARD_1) on the system board.
10. Slide the side I/O panel away from the clamps and place it in a secure location.
WARNING: Before working inside your computer, read the safety information that shipped with your computer. For additional safety best
practices information, see the Regulatory Compliance Homepage at www.dell.com/regulatory_compliance.
NOTE: Make note of the cable routing before you dislodge the cables.