Replacing a System Board
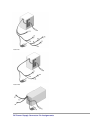
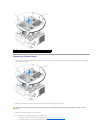
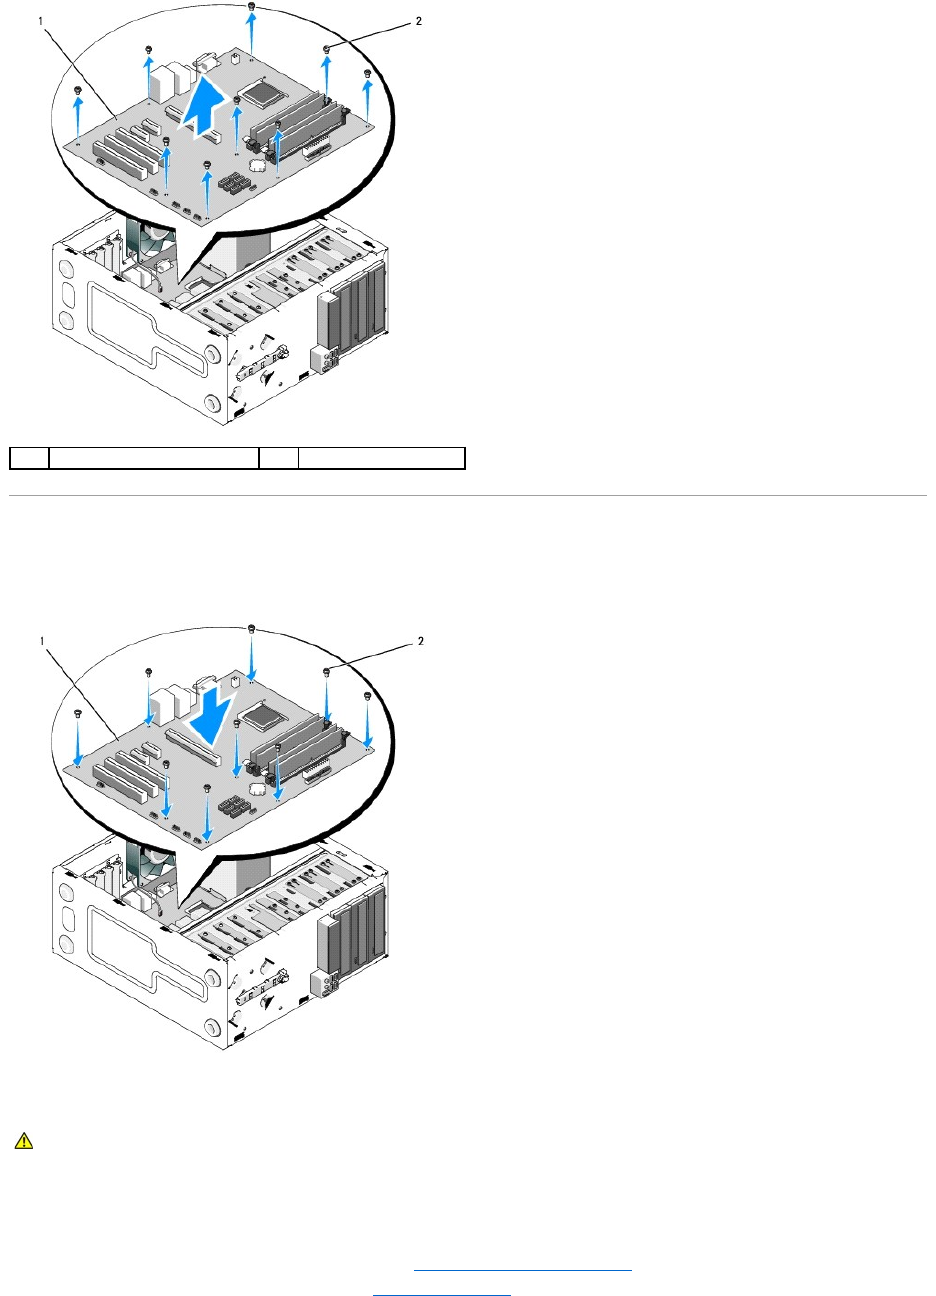
1. Align the holes of the system board with the screw holes in the chassis, ensuring that the back panel connectors are properly aligned in the openings
on the back of the chassis.
2. Replace the screws that secure the system board to the chassis. Avoid over-tightening the screws.
3. Connect the chassis fan cable to the system board.
4. If the system board is being replaced with a new system board:
a. Install the memory modules onto the system board (see Replacing or Adding a Memory Module).
b. Install the processor onto the system board (see Replacing the Processor).
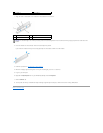
1
system board
2
screws (9)
CAUTION: Failure to replace and tighten all screws properly may not provide adequate grounding of the system board and result in system
failures.


