58 Front I/O Panel
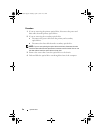
Procedure
NOTE: Make note of the routing of all cables as you remove them so that you can
re-route them correctly when installing the new front I/O panel.
1
Disconnect the front I/O panel cables from the system board connectors
(AUDIOF1, USBF1, and USBF2). See "System Board Components" on
page 14.
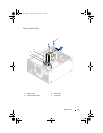
2
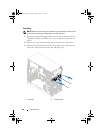
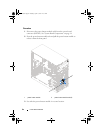
Remove the screws that secure the front I/O panel to the front panel.
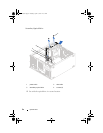
3
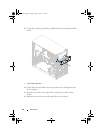
Slide the front I/O panel towards the side as shown in the illustration to
release the clamps from the front panel and pull it away.
1 screws (2) 2 front I/O panel
1
2
book.book Page 58 Tuesday, April 17, 2012 11:37 AM


