


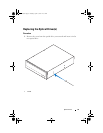


Front I/O Panel 59
Replacing the Front I/O Panel
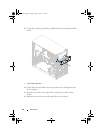
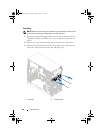
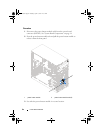
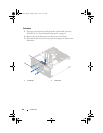
Procedure
CAUTION: To avoid damage to the cable connectors and the cable routing clips,
carefully slide the front I/O panel into the front I/O panel clamp slot.
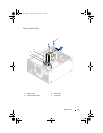
1
Align and slide the front I/O panel clamps into the slots on the front panel.
2
Replace the screws that secure the front I/O panel to the front panel.
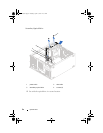
3
Connect the front I/O panel cables to the system board connectors
(AUDIOF1, USBF1, and USBF2). See "System Board Components" on
page 14.
Postrequisites
1
Replace the front bezel see "Replacing the Front Bezel" on page 27.
2
Replace the computer cover. See "Replacing the Computer Cover" on page 19.
3
Follow the instructions in "After Working Inside Your Computer" on
page 11.
book.book Page 59 Tuesday, April 17, 2012 11:37 AM