


8-16 Installation and Troubleshooting Guide
!###
* %&
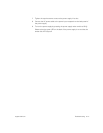
To remove a power supply, perform the following steps:
1' * %&2
3-.- *$
$' * %$*
&
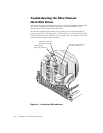
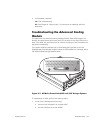
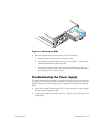
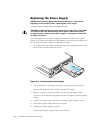
Two hot-swappable power supply modules are installed in the back of the system
chassis. If you observe an amber fault LED lighted on one of the power supplies, per-
form the following steps to replace the faulty power supply:
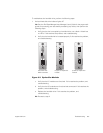
1. At the back of the rack cabinet, identify the faulty power supply by observing the
power supply with the amber fault LED lit.
(,.&"!!+
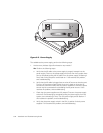
2. Turn off the power to the faulty power supply by pressing the power switch.
Observe that the green LED is off and the amber LED stays lit.
3. Remove the power cord from the back of the faulty power supply module.
Do not turn off or disconnect the power cord to the remaining functioning power
supply.
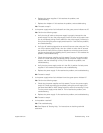
4. Unscrew the captive screws that secure the power supply module in its slot.
5. Pull the faulty power supply module out of its slot.
6. Slide the new power supply into its slot.
Ensure that the power supply switch is set to OFF (O).