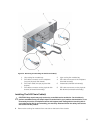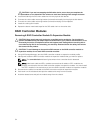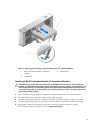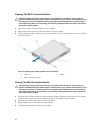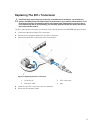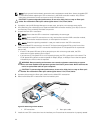
CAUTION: When connecting the power cable, secure the cable with the cable securing
bracket.
NOTE: When installing or hot-swapping a new power supply module, allow several seconds for
the system to recognize the power supply module and determine its status. The power-supply
status indicator turns green to signify that the power supply module is functioning properly.
Cooling Fan Modules
Your system supports two hot-swappable cooling fan modules.
Removing A Cooling Fan Module
CAUTION: Many repairs may only be done by a certified service technician. You should only
perform troubleshooting and simple repairs as authorized in your product documentation, or as
directed by the online or telephone service and support team. Damage due to servicing that is
not authorized by Dell is not covered by your warranty. Read and follow the safety instructions
that came with the product.
CAUTION: The cooling fans are hot-swappable. To maintain proper cooling while the system is
on, replace only one fan at a time.
NOTE: The procedure for removing each cooling fan module is identical.
Make sure that the Service action allowed indicator lights blue before you remove the cooling fan
module. For more information, see Cooling Fan Module LED Indicator Codes.
NOTE: The Service action allowed indicator LED is not used in server attached configurations.
1. Identify and locate the failed cooling fan module.
CAUTION: Remove the cooling fan module from the system only if the Service action allowed
indicator lights blue. Removing the cooling fan module from the system when the Service
action allowed indicator is off may damage the system.
NOTE: The Service action allowed indicator LED is not used in server attached configurations.
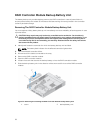
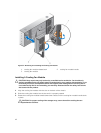
2. Press the cooling fan module release latch to release the cooling fan module handle.
3. Rotate the cooling fan module handle away from the system, until the cooling fan module is released
from the slot.
4. Holding the cooling fan module release handle, pull the cooling fan module away from the chassis.
41


