


Installing Drives 7-3
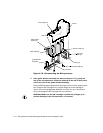
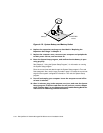
To remove the insert covering the 3.5-inch bay
, follow these steps:
&RPSOHWHVWHSVDQGRIWKHSURFHGXUHIRUUHPRYLQJDLQFK
LQVHUW
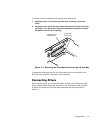
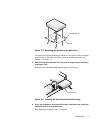
,QVLGHWKHFRYHUORFDWHWKHHMHFWE XWWRQPHFKDQLVPIRUWKHLQFKED\
VHH)LJXUH3UHVVWKHPHFKDQLVPWRZDUGWKHIURQWSDQHOWRVQDS
WKHS OD VWLFLQ VH UW RXWR IL WVRSH Q LQJ
)LJXUH5HPRYLQJWKH)URQW3DQHO,QVHUWIRUWKH,QFK%D\
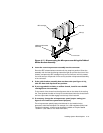
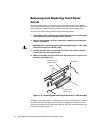
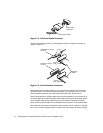
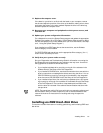
To replace the front-panel insert for the 3.5-inch bay,
work from outside the cover.
Place the insert in position, and press it into the opening.
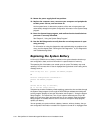
&RQQHFWLQJ'ULYHV
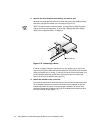
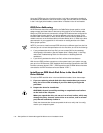
When installing a drive, you connect two cables—a direct current (DC) power cable
and an interface cable—to the back of the drive. Your drive’s power input connector
(to which you connect the DC power cable) resembles the connector shown in
Figure 7-4.
computer cover
(upside down)
eject button
mechanism