


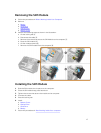

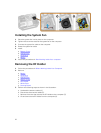
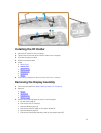

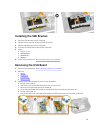

Installing the Display Assembly
1. Install the display assembly and close the display.
2. Flip the computer chassis.
3. Tighten the screws that secure the display assembly to the computer chassis.
4. Connect the display assembly connector.
5. Re-seat the pull tab on the connector.
6. Tighten the screws that secure that secure display assembly connector.
7. Connect the display assembly cable on the system board.
8. Affix the adhesive tape.
9. Connect the eDP cable on the system board.
10. Affix the adhesive tape.
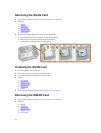
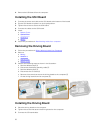
11. Install:
a. Bottom Cover
b. Optical Drive
c. Hard Drive
d. Battery
12. Follow the procedures in After Working Inside Your computer
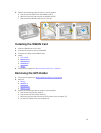
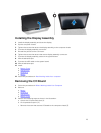
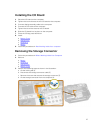
Removing the I/O Board
1. Follow the procedures in Before Working Inside Your Computer
2. Remove:
a. Battery
b. Hard Drive
c. Optical Drive
d. Bottom Cover
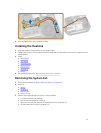
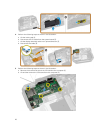
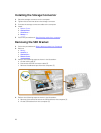
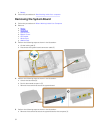
3. Perform the following steps as shown in the illustration:
a. Unlock the I/O press latch door [1].
b. Lift it upwards to open it [2].
c. Remove the screw that secures I/O board to the computer chassis [3].
25