


8-12 Installation and Troubleshooting Guide
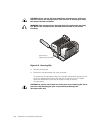
#$!$%!!
!$! %!&
!
'()! %"!*!
+! !"
/%
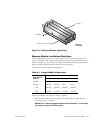
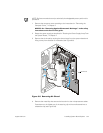
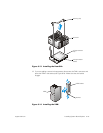
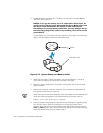
5. Remove the heat sink.
6. Remove the microprocessor chip from the socket.
To remove the microprocessor chip, pull the socket release lever straight up until
the chip is released (see Figure 8-10), and then lift the chip out of the socket.
Leave the release lever up so that the socket is ready for the new
microprocessor.
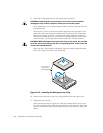
#+" ,!$!&
+ !!
!
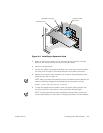
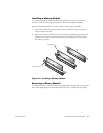
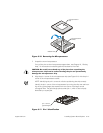
press here to
release securing clip