


2
2
7
7
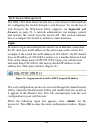
Web-based Management
The DES-1252 Web-Smart Switch has a web browser GUI interface
for configuring the Switch through a web browser. To see the list of
web browsers the Web-based Utility supports, see Supported web
browsers on page 19. A network administrator can manage, control
and monitor the switch from the local LAN. This section indicates
how to configure the Switch to enable its smart functions.
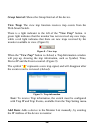
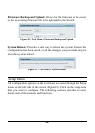
Login
In order to login and configure the switch via an Ethernet connection,
the PC must have an IP address in the same range as the switch. For
example, if the switch has an IP address of 192.168.0.1, the PC should
have an IP address of 192.168.0.x (where x is a number between 2 and
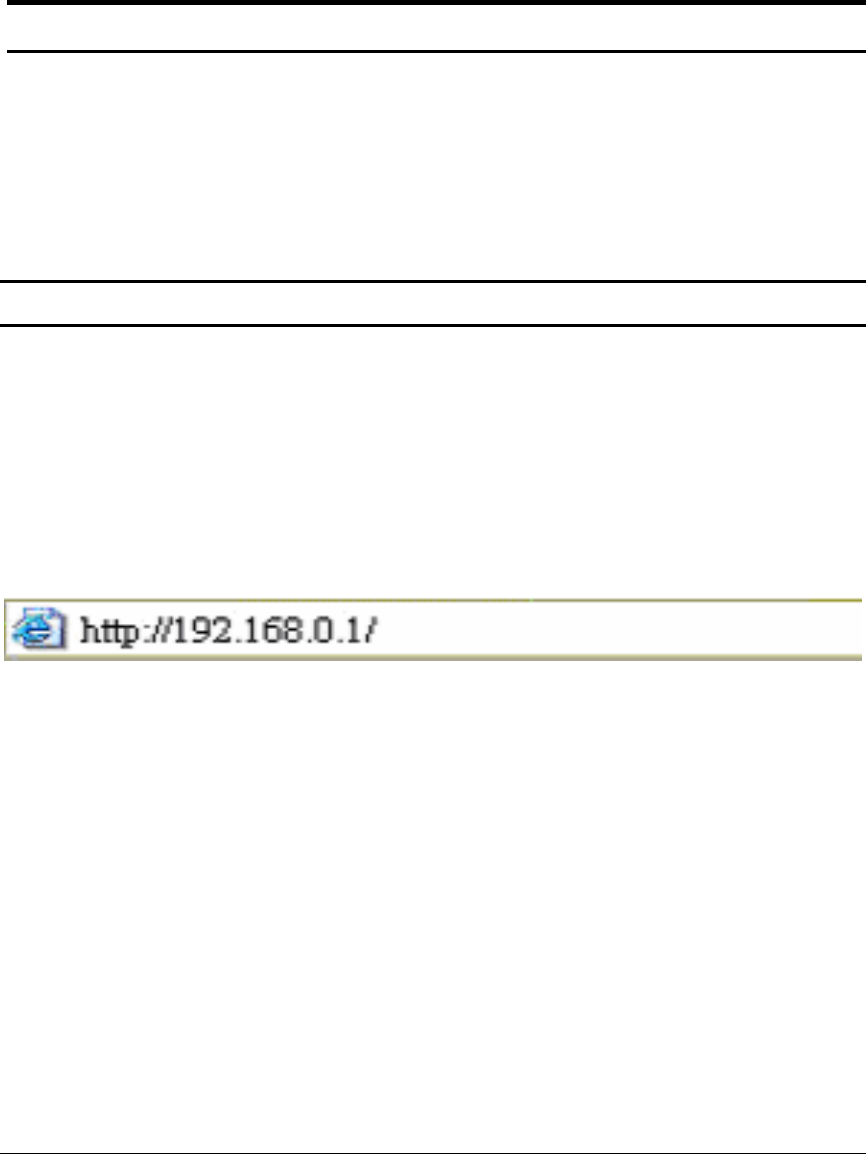
254), and a subnet mask of 255.255.255.0. Open your web browser
and enter http://192.168.0.1 (the factory-default IP address) in the
address box. Then press <Enter> (Figure 14)
Figure 14 – Logging into the Switch’s (DHCP assigned) IP address
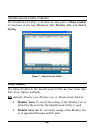
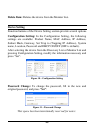
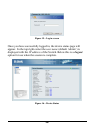
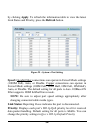
The web configuration can also be accessed through the SmartConsole
Utility. Open the SmartConsole Utility and double-click the switch as
it appears in the Monitor List. This will automatically load the web
configuration in your web browser.
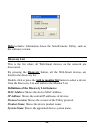
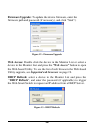
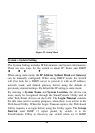
When the following logon box appears, enter "admin" for the
password. Press Ok to enter the main configuration window. (Figure
15)