COMPUTER SYSTEM SELECT
This projector is adjustable to different types of computer display signals based on VGA, SVGA, XGA or SXGA
(See “COMPATIBLE COMPUTER SPECIFICATIONS” on the next page). If you set MODE SELECT to
“COMPUTER”, the projector will automatically process the incoming signal and projects the proper image without
any special setting. Although this will work in most cases, you may be required to manually set the projector for
some computer signals. If the computer image is not reproduced properly, try the following procedure and switch to
the computer display mode that you want to use.
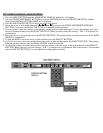
1. Connect the COMPUTER to the PROJECTOR and turn the projector on first.
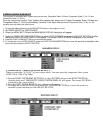
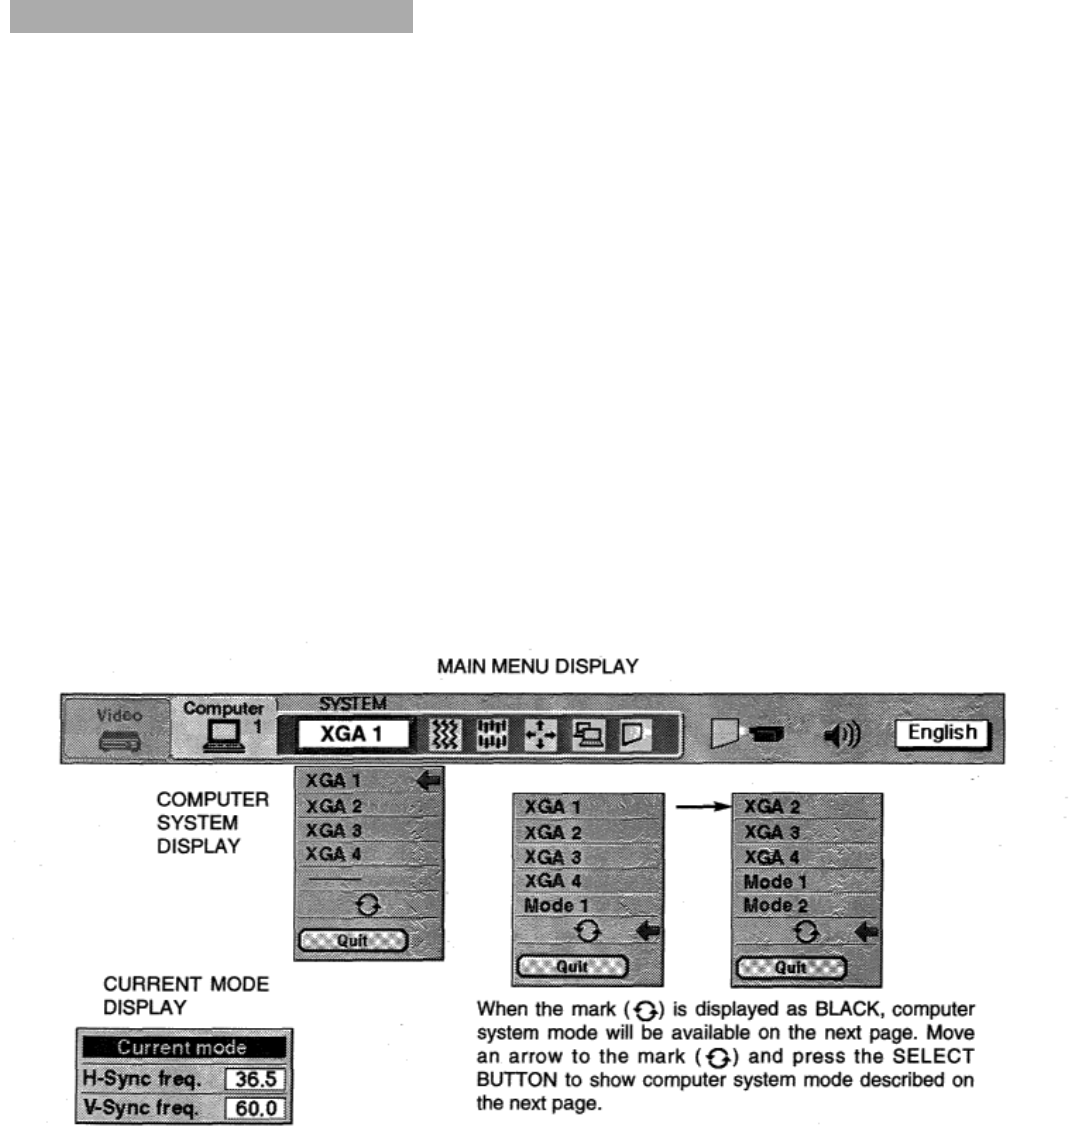
2. Set MODE SELECT to “COMPUTER MODE (1 or 2)”. This shows the current display mode initially detected
by the projector in the system window. And “Current mode” display appears.
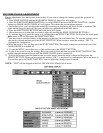
NOTE: 1. If the projector cannot discriminate or detect the input signal from the computer, the “Go PC adj.”
display appears.
NOTE: 2. If no input signal from the computer, the “No signal” display appears.
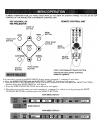
3. Press the MENU BUTTON and the MAIN MENU DISPLAY dialog box will appear.
4. Press the POINT LEFT/RIGHT BUTTON(s) to select SYSTEM and press the SELECT BUTTON. Another
dialog box COMPUTER SYSTEM DISPLAY will appear.
5. Press the POINT DOWN BUTTON and a red arrow will appear.
6. If you want to change the current display mode, move the arrow by pressing the POINT UP/DOWN
BUTTON(s) to select one of the modes.
7. Press the SELECT BUTTON to change the display mode.
8. To quit the MENU, move the arrow to Quit and then press the SELECT BUTTON
.
PC ADJUSTMENT
This is a special function that may be used when a computer image is not reproduced properly. (See pages 41 ~ 44 for
more detail).


