


Thin Web Server Setup Program – Serial Connection
4-5
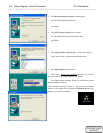
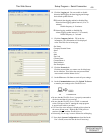
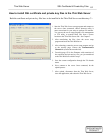
10. Click the Logging tab. You can enable or disable
historical data logging & alarm logging and change
their default update interval.
; Historical data logging enabled or disabled flag
Historical data logging update interval (15 to 30
minutes)
Default frequency is 30 minutes
; Alarm logging enabled or disabled flag
Alarms logging update interval (5 -20 seconds)
Default frequency is 5 seconds
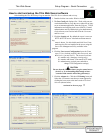
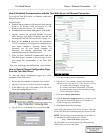
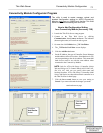
11. Click the Company Info tab. Fill in the site
information. This information will be displayed
at the Thin Web Server home page.
Site Name
Company Domain Name
Street
City
State
Zip Code
Contact Name
Contact Phone #
Email Address
Site Description
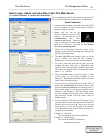
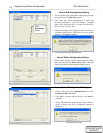
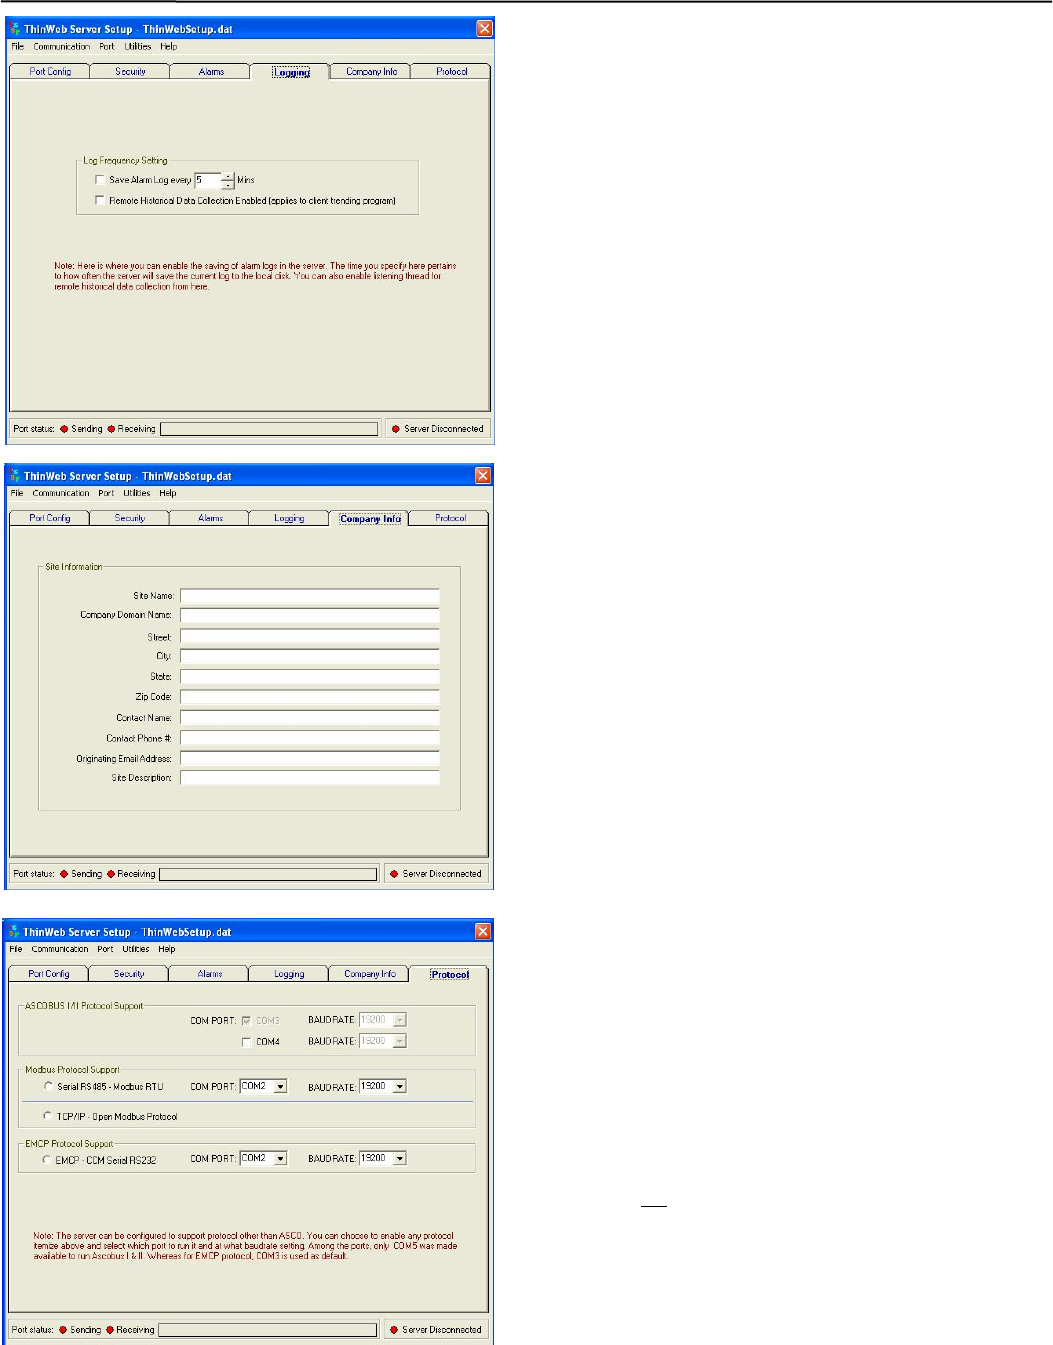
12. Click the Protocol tab.
Click the protocol that you want to use for third party
device interface. Then select the com port and baud
rate to match with the Master device.
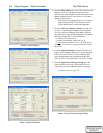
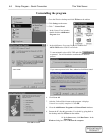
13. On the File menu click Save to retain all your settings.
14. On the Communication menu click Upload To Server
to transfer your settings to the ThinWeb Server.
Ö
PC ThinWeb Server
• Be sure that the ThinWeb Server is properly connected to
all devices and that it is powered up.
• Be sure that the ThinWeb Server COM1 is connected
to the COM port of the PC running the setup program.
A special serial cable is provided.
• If a Timed Out error message is displayed, the upload to
the server did not
occur. Recheck the COM port con-
nections of the PC and the ThinWeb Server.
• Print config. file or copy it onto a diskette for safekeeping
15. Now check System Configuration as described in the
User’s Guide (correct the date & time if necessary).