Epson Stylus Pro 4000
10 - Epson Stylus Pro 4000 4/04
11. When done, press the
Pause button to exit the head
alignment mode.
If you want to verify or fine-tune the automatic alignment
process, you can perform a manual head alignment. See your
electronic Reference Guide for instructions.
Replacing the Cutter Blade
If you notice that your paper isn’t cut cleanly, the cutter blade
may need to be replaced. For a list of media that do not work
with the cutter, see the Printer Guide.
Make sure that the printer is on and the front cover is closed.
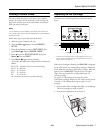
1. Press the Menu
.
2. Press
until you see MAINTENANCE, then press
Menu
again. You see CUTTER REPL.
3. Press Menu
to display EXEC.
4. Press Menu again. The print head moves to the
replacement position. OPEN TOP COVER is displayed.
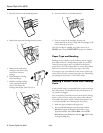
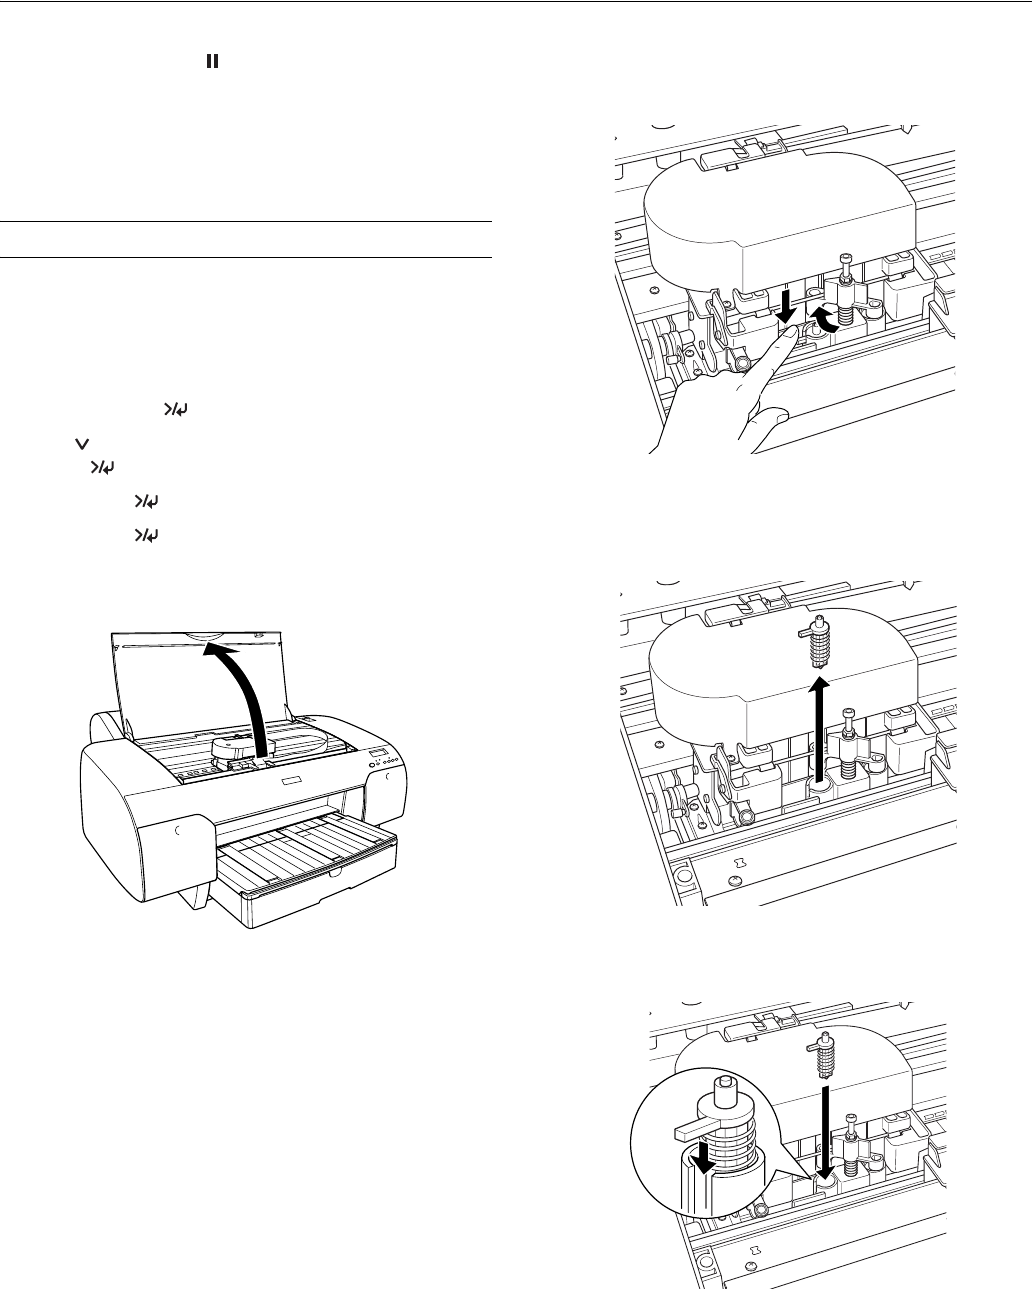
5. Open the top cover.
6.
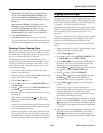
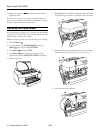
7. When REPLACE CUTTER is displayed on the LCD, hold
down the side pin as shown and turn the latch to the right.
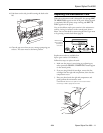
8. Release the side pin and carefully remove the cutter blade.
WARNING: The blade is sharp. Be careful when removing it.
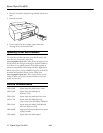
9. Insert the new cutter as shown.


