Printing From Start to Finish
18
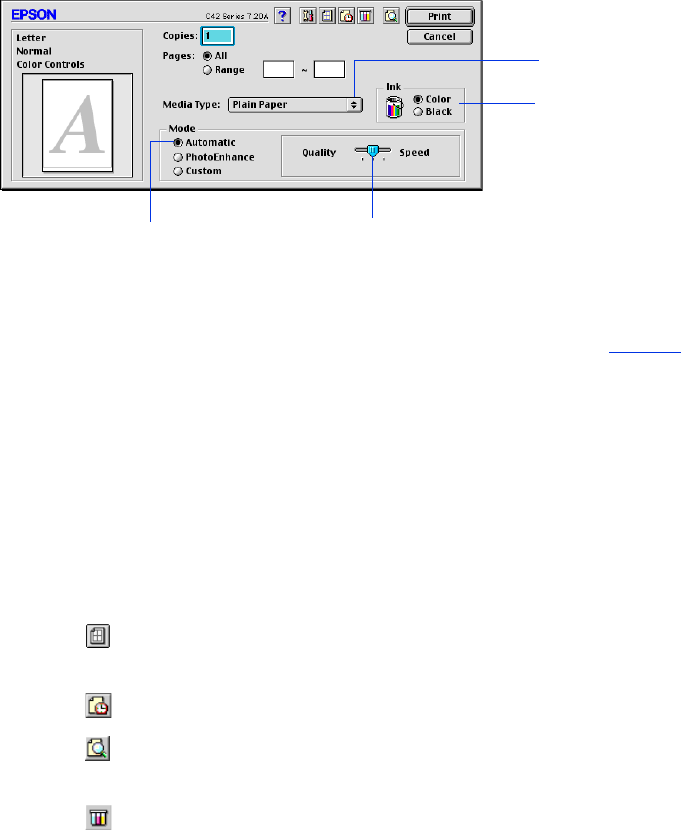
4. From the File menu, select
Print
. You see a window like the following:
5. Make the following settings:
■
Choose the paper you’re printing on (click the arrow to scroll through the
Media Type
list). If you’re not sure which setting to select, see page 22.
■
Set the Ink option to
Color
to print a color document. To print a black text
document, click
Black
.
■
Set the Mode option to
Automatic
. It’s the easiest way to get good printing
results on all types of paper.
■
Set the slider in the Mode box to
Quality
or
Speed
to select high-quality
printing, faster printing, or an in-between setting.
6. You can also do the following:
■
Click to reduce or enlarge your image, print multiple layouts, or add a
watermark.
■
Click to turn on background printing.
■
Click to change the Print button to
Preview
. You can then click it to
preview your printout.
■
Click to check your ink levels. If the red
b error light is on or flashing,
check to see if one of your ink cartridges is low or empty.
■
Click
PhotoEnhance
to improve the appearance of low-resolution and
improperly exposed photos. Only works when
Color
ink is selected.
■
Click
Custom
, and then select
ColorSync
in the Custom Settings menu to
match the colors in your printout as closely as possible to those you see using
ColorSync-compatible devices and applications.
Select higher quality or faster printing
Select the type of
paper you loaded
Select Automatic mode
Select the
Ink color


