


Logos Imaging EPIX Scanner
User Manual
15
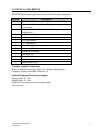
5.3. TAKING AN X-RAY
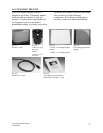
Fig. 5-1
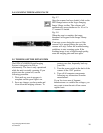
Ensure the computer, monitor and EPIX
SCANNER are switched on and properly
connected. The green LED indicates that the
system is ready to scan
Fig. 5-2
Launch your imaging software. Refer to your
Imaging Software User Manual for details
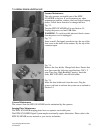
Fig. 5-3
Place the erased 8 x 10 in or 8 x 17 in imaging
plate into a screen holder or protective sleeve with
the white side pointed toward the X-ray machine.
Place the screen holder/protective sleeve behind
the item to be x-rayed and expose in the usual
manner.
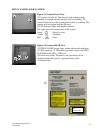
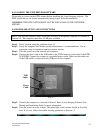
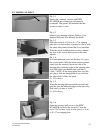
Fig. 5-4
In a semi-darkened room (see Section 4.1), open
the screen holder. With the white surface pointed
away from the carousel, insert one side of the
imaging plate under the edge of the imaging plate
clip. Push with your thumbs until you hear a
“click.” NOTE: If the image plate does not click
into place, slide the image plate to one side then
the other until it clicks into place.
8 x 10 in shown.
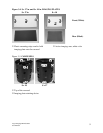
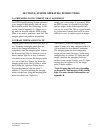
Fig. 5-5
Wrap the imaging plate around the carousel and
push the free end under the edge of the other clip.
Push until you hear a “click.”
8 x 10 in shown.
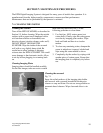
Fig. 5-6
Open the carousel well cover on the EPIX
SCANNER and insert the carousel. Close the
cover. You are now ready to scan your 8 x 10 in
or 8 x 17 in imaging plate.