EPSON FX-980
20 -
EPSON FX-980
4/99
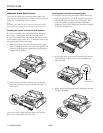
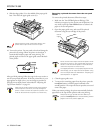
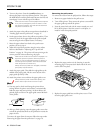
4. Turn on the printer. Press the
Load/Eject button to
advance the paper to the top-of-form position. Then press
the
LF/FF button until the perforation between the first and
second page is even with the top of the ribbon.
Never use the knob to move the paper while the printer
is on; this may damage the printer or cause it to lose
the top-of-form position. The knob can be used when
the printer is turned off only.
5. Attach the paper to the pull tractor sprockets as described in
“Loading paper onto the pull tractor” on page 17.
6. Set the paper release lever to the pull tractor position. Then
remove any slack in the paper between the push and pull
tractors using the micro adjust feature, if necessary.
7. Move the paper release lever back to the push tractor
position you set in step 2.
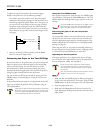
8. Adjust the top-of-form position using the micro adjust
feature as described in “Adjusting the Top-of-Form
Position” on page 21. The printer will start printing at the
current position without advancing the paper.
Never use the knob to remove slack in the paper or to
adjust the top-of-form position while the printer is
turned on; this may damage the printer or cause it to
lose the top-of-form position. The knob can be used
when the printer is turned off only.
Always remove any slack from the paper; otherwise
print quality may be reduced.
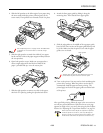
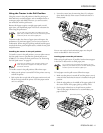
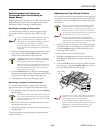
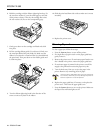
9. Attach the paper guide. Then slide the edge guides to the
middle of the paper guide. Lift the center section of the
paper guide up and lay it flat.
10. Attach the printer cover and close the paper guide cover.
Always close the printer cover before printing. The
printer does not print when the cover is open.
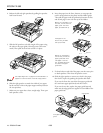
11. You may need to check and change the printer driver
settings. When the printer receives data, it automatically
loads the paper and starts printing. As shown below, the
printed pages are fed over the paper guide toward the back
of the printer.
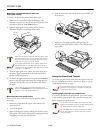
12. After you finish printing, open the paper guide cover; then
tear off the printed document at the perforation nearest the
paper exit slot.
To remove the paper from the tractors, follow the steps under
“Removing the paper from the pull tractor” on page 19.
Removing the pull tractor
To remove the tractor from the pull position, follow these steps:
1. Remove any paper loaded on the pull tractor.
2. Turn off the printer. Then remove the printer cover and lift
the paper guide up and off the printer.
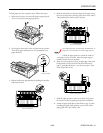
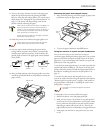
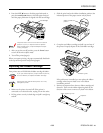
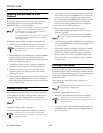
3. Press the tractor lock tabs, tilt the tractor toward you, and
lift it off the printer. Store the tractor in a safe place, or
install it in the front push position.
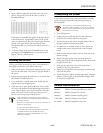
4. Replace the paper tension unit by lowering it onto the
mounting pegs. Then press down both ends of the unit
until it clicks into place.
5. Replace the paper guide base and the printer cover. Then
close the paper guide cover.
front rear
paper tension unit


