EPSON Stylus C63/64/83/84 Revision A
Disassembly and Assembly Overview 10
1.1.3 Work Completion Check
If any service is made to the printer, use the checklist shown below to confirm all
works are completed properly and the printer is ready to be returned to the user.
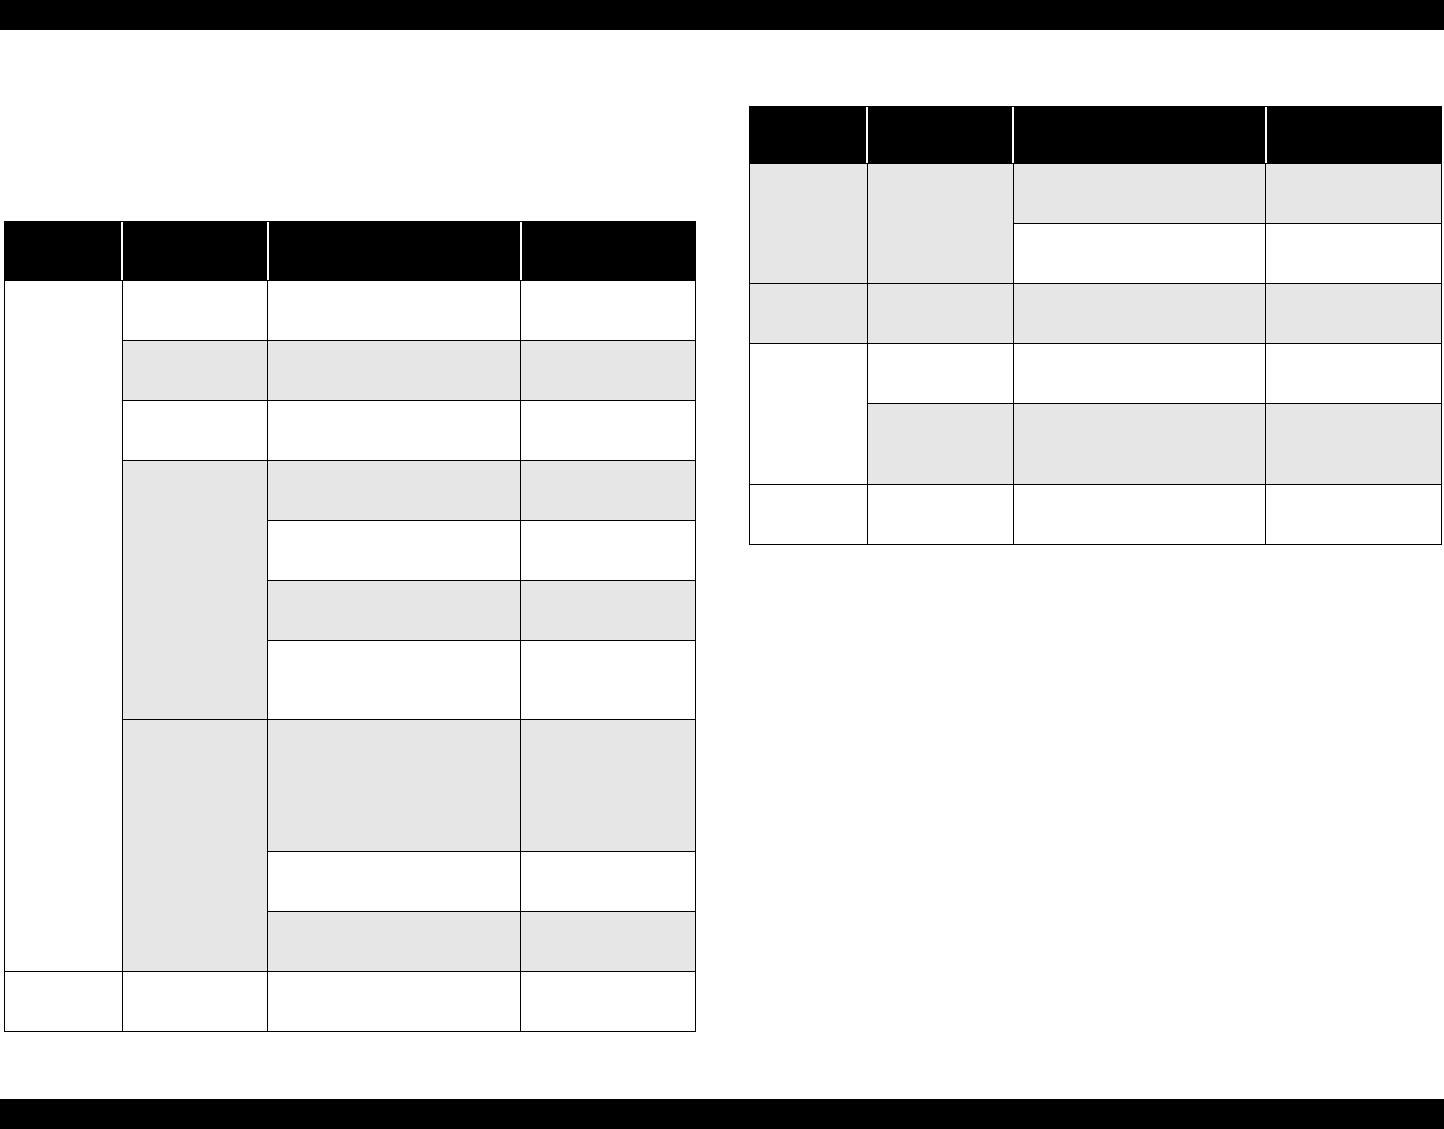
Table 1-2. Work Completion Check
Classifi-
cation
Item Check Point Status
Main Unit
Self-test Is the operation normal?
o Checked
o Not necessary
On-line Test Is the printing successful?
o Checked
o Not necessary
Printhead
Is ink discharged normally from
all the nozzles?
o Checked
o Not necessary
Carriage
Mechanism
Does it move smoothly?
o Checked
o Not necessary
Is there any abnormal noise
during its operation?
o Checked
o Not necessary
Is there any dirt or foreign
objects on the CR Guide Shaft?
o Checked
o Not necessary
Is the CR Motor at the correct
temperature?
(Not too heated?)
o Checked
o Not necessary
Paper Feeding
Mechanism
• Is paper advanced smoothly?
• No paper jamming?
• No paper skew?
• No multiple feeding?
• No abnormal noise?
o Checked
o Not necessary
Is the PF Motor at correct
temperature?
o Checked
o Not necessary
Is the paper path free of any
obstructions?
o Checked
o Not necessary
Adjustment
Specified
Adjustment
Are all the adjustment done
correctly?
o Checked
o Not necessary
Lubrication
Specified
Lubrication
Are all the lubrication made at
the specified points?
o Checked
o Not necessary
Is the amount of lubrication
correct?
o Checked
o Not necessary
Function ROM Version Version:
o Checked
o Not necessary
Packing
Ink Cartridge
Are the ink cartridges installed
correctly?
o Checked
o Not necessary
Protective
Materials
Have all relevant protective
materials been attached to the
printer?
o Checked
o Not necessary
Others
Attachments,
Accessories
Have all the relevant items been
included in the package?
o Checked
o Not necessary
Table 1-2. Work Completion Check
Classifi-
cation
Item Check Point Status
