


Rev. C Using the Printer 3-5
TM-C100 Technical Reference Guide
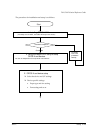
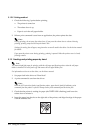
5. Check that the paper is placed straight.
6. Press the release lever again, so that the release lever is in the raised position (clamped).
7. Positioning and printing of the cut sheet is performed automatically.
Note:
During printing, do not press the release lever. If you press the release lever to release it during printing,
printing stops and all the print data is lost.
During positioning, the paper is moved toward the back of the printer. If there is any obstruction behind
the printer, it may impede normal positioning. Ensure that there is sufficient space behind the printer.
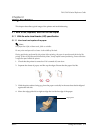
3.2 Replacing the Ink Cartridge
Note:
See the ink cartridge instruction manual for precautions when using the ink cartridge.
There is one ink cartridge for the single color model and a different one for the four-color model. If the
printer model does not match the ink cartridge type, the printer will not operate.
1. Check that the printer is turned on.
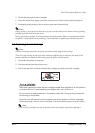
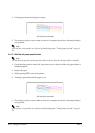
2. Grip the tab and open the printer cover.
3. Pull on the tab of the currently installed ink cartridge and pull out the ink cartridge.
CAUTION:
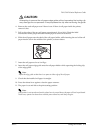
The plastic projection inside the ink cartridge holder that supplies ink to the printer is
covered with ink. To avoid getting your fingers dirty, do not touch it.
Do not touch or apply pressure to the plastic projection. Doing so may impair the
functioning of the printer.
Since ink may still remain in the ink supply part at the bottom of the ink cartridge
when removing it, do not touch that part. Also, be careful where you put it down.
Note:
Since inserting a cartridge uses ink, do not take out the ink cartridge except when replacing it.