


3. Press the arrow buttons to select Maintenance and press the OK button.
4. Press the arrow buttons to select Head Cleaning and press the OK button.
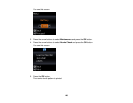
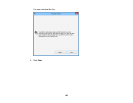
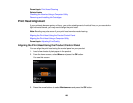
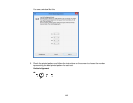
You see this screen:
5. Press the OK button to clean the print head. You see a message on the LCD screen during the
cleaning cycle.
Caution: Never turn off the product during a cleaning cycle or you may damage it.
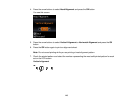
When the cleaning cycle is finished, you see a message on the LCD screen.
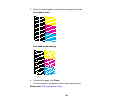
6. Select Nozzle check and press the OK button.
7. Press the OK button again to run a nozzle check and confirm that the print head is clean.
If you don’t see any improvement after cleaning the print head up to 2 times, turn off the product and wait
at least 6 hours. Then try cleaning the print head again. If quality still does not improve, one of the ink
cartridges may be old or damaged and needs to be replaced.
Parent topic: Print Head Cleaning
Related tasks
Checking the Nozzles Using the Product Control Panel
Removing and Installing Ink Cartridges
Cleaning the Print Head Using a Computer Utility
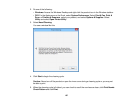
You can clean the print head using a utility on your Windows or Mac computer.
1. Load a few sheets of plain paper in the product.
106