


7
EN
1
Hardware Installation
Chapter 1: Hardware Installation
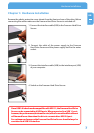
Remove the plastic protective cover sheets from the front and rear of the drive. Before
connecting the cables make sure the Freecom Hard Drive Secure is switched off.
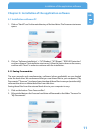
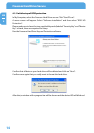
1. Connect the interface cable (USB) to the Freecom Hard Drive
Secure.
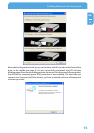
2. Connect the cable of the power supply to the Freecom
Hard Drive Secure and the power supply itself to the mains
socket.
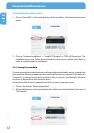
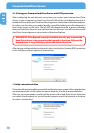
3. Connect the interface cable (USB) to the interface port (USB)
of your computer.
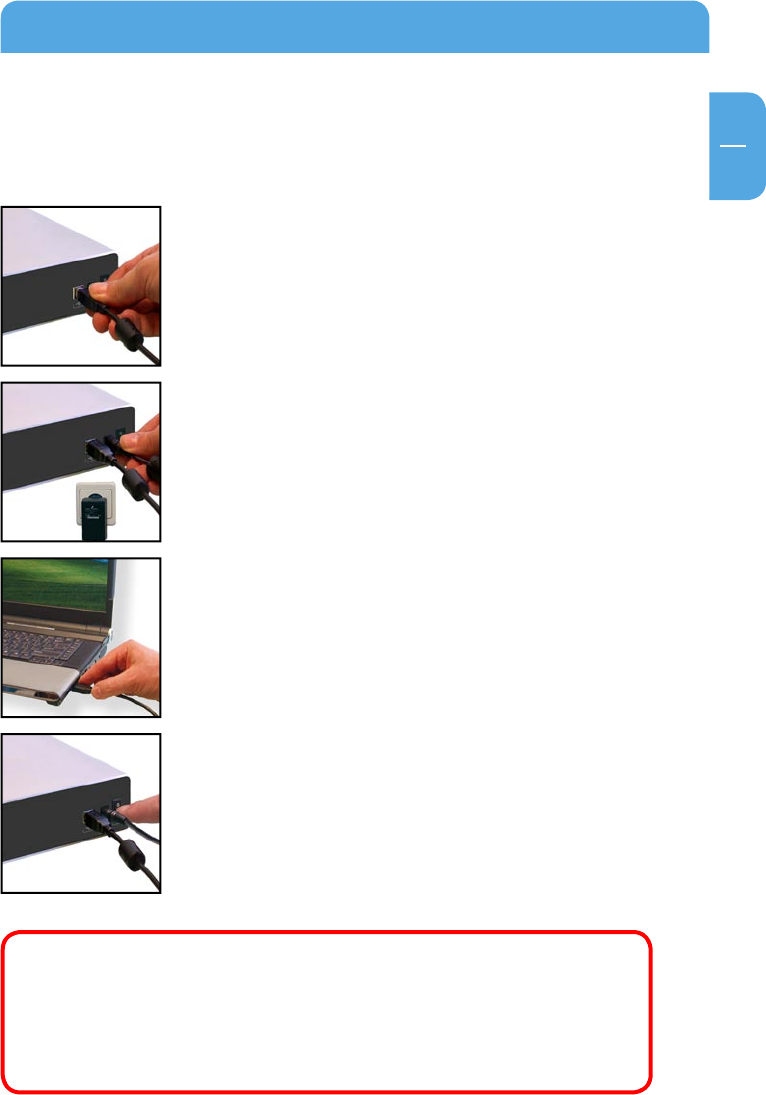
4. Switch on the Freecom Hard Drive Secure.
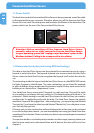
Since USB 2.0 is backwards compatible with USB 1.1, the Freecom Hard Drive
Secure can be connected to all USB ports. When connected to a USB 1.1 port,
however, the performance (data transfer rate) of the Freecom Hard Drive Secure
will be much lower than when the drive is connected to a USB 2.0 port.
For optimum performance the Freecom Hard Drive Secure should always be
connected to a USB 2.0 interface.