


3. INSTALLATION
18
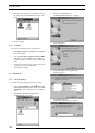
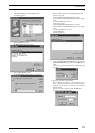
3. Double-click the [Add Printer] icon.
The [Add Printer Wizard] dialog box is displayed.
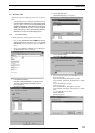
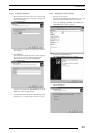
4. Select [Network printer server] and click the [Next] button.
The [Connect to Printer] dialog box appears:
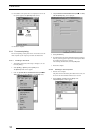
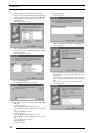
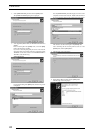
5. Enter a network path in the [Printer:] field and specify the server
and its share name. If, for instance, the server computer name is
"SERVER" and the share name of the PICTROGRAPHY is
"PICTRO", enter the following:
\\SERVER\PICTRO
An alternative is to select the name of a networked computer
shown in the [Share Printers:] field. In this instance, double-
click the name of the server computer to open it, and then select
a share name for the printer. This selection sets the network
path in the [Printer:] field.
Once the network path is entered in the [Printer:] field, click the
[OK] button.
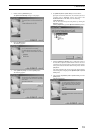
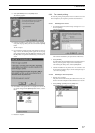
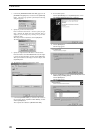
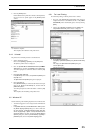
6. If another printer is already installed, the following screen
appears.
7. Choose either [Yes] or [No]. Click the [Next] button.
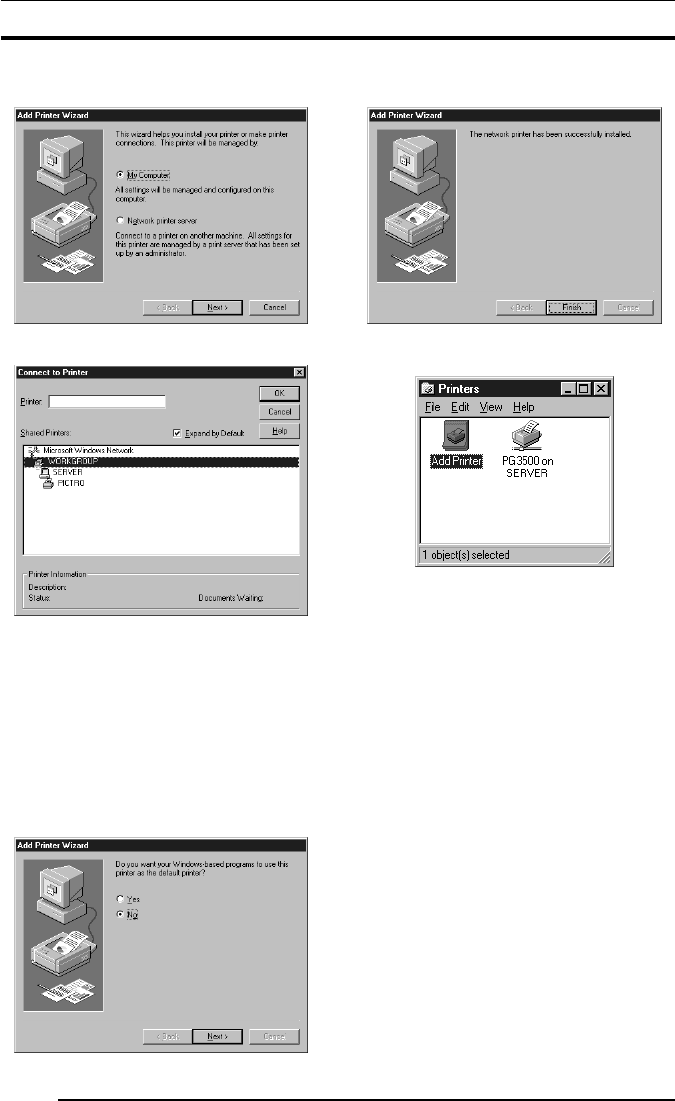
The following appears:
8. Click the [Finish] button.
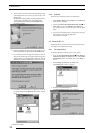
If installation of the printer driver is complete, the icon for the
new printer will appear in the [Printers] folder window.
9. Restart the computer.
3.3.3 Uninstall
The printer driver uninstall procedure is described below:
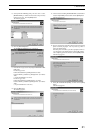
1. Delete the printer.
Click to select [Setting] > [Printer] from the [Start] menu.
The [Printers] folder window is displayed.
2. Click the icon, then click [Delete] from the [File] menu.
You will be prompted to confirm the delete. Click the [Yes]
button.
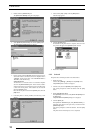
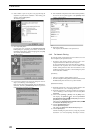
3. Delete [PICTRO TCP Port].
In the [Printers] folder window, click [Server Properties] from
the [File] menu.
The [Print Server Properties] dialog box is displayed.
4. Click the [Ports] tab.
In the [Ports on this Server] list, click [PICTRO TCPx:] (x:
numerical value entered as the port name), and then click the
[Delete Port] button.
You will be prompted to confirm the deletion. Click the [Yes]
button.
The printer driver uninstall process is now completed.