18 Setting Up the Projector
If you place the projector below screen level, you may need to tilt it up
by extending the front adjustable foot. Tilting the projector causes the
image to become “keystone” shaped, but you can correct the
distortion (see page 33).
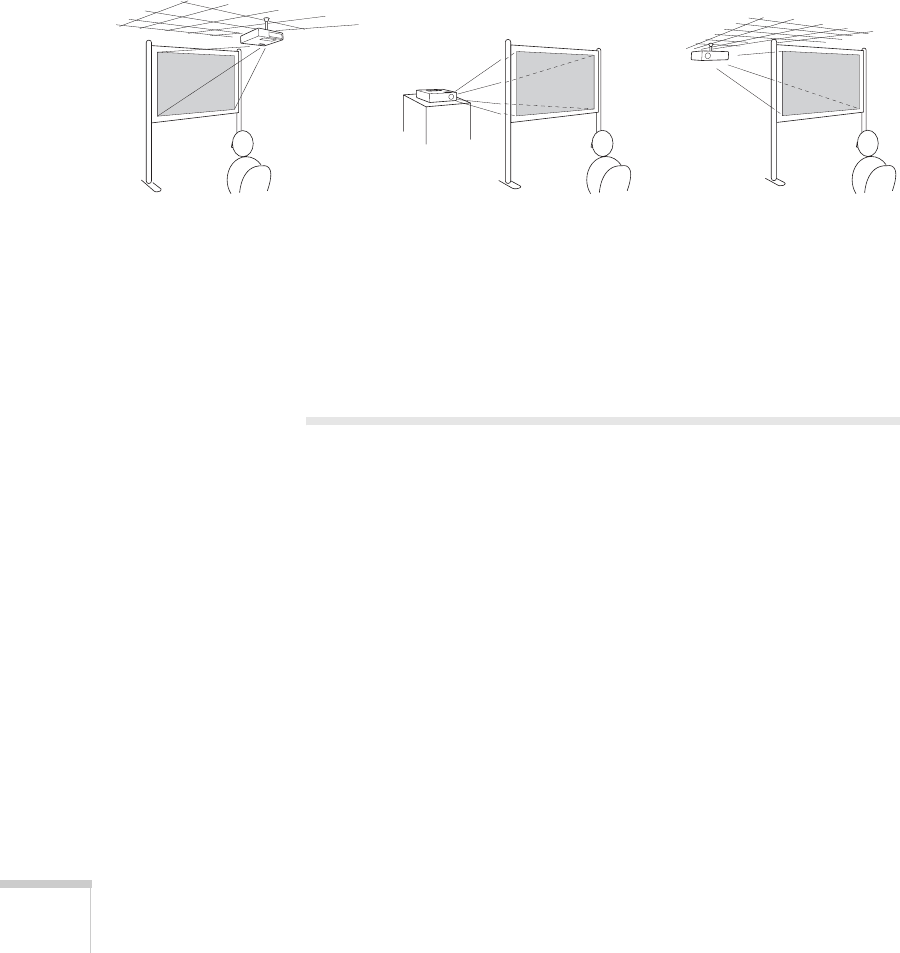
You can also install the projector in three other viewing setups: ceiling
projection, rear projection onto a semi-transparent screen, or
rear/ceiling projection.
To project from overhead, you’ll need the optional ceiling mounting
hardware (see page 11). You’ll also need to select the appropriate
Projection setting in the projector’s Extended menu to orient the
image correctly (see page 50).
Connecting to a Computer
You can connect the projector to a Windows
®
computer using the
projector’s
TypeB USB port. This lets you carry a lightweight cable
with you when you transport the projector.
You can also connect the projector to any computer that has a
standard video output (monitor) port, including desktop models,
PC notebook computers, Macintosh PowerBook
®
and iBook
®
computers, and hand-held devices. See page 20 for instructions.
To play sound through the projector, connect an audio cable (see
page 26).
You may be able to use your remote control as a wireless mouse when
projecting from a computer (see page 41).
Rear projectionCeiling projection Rear/ceiling projection


