CHAPTER 3: Maintaining and Upgrading Your Notebook www.gateway.com
40
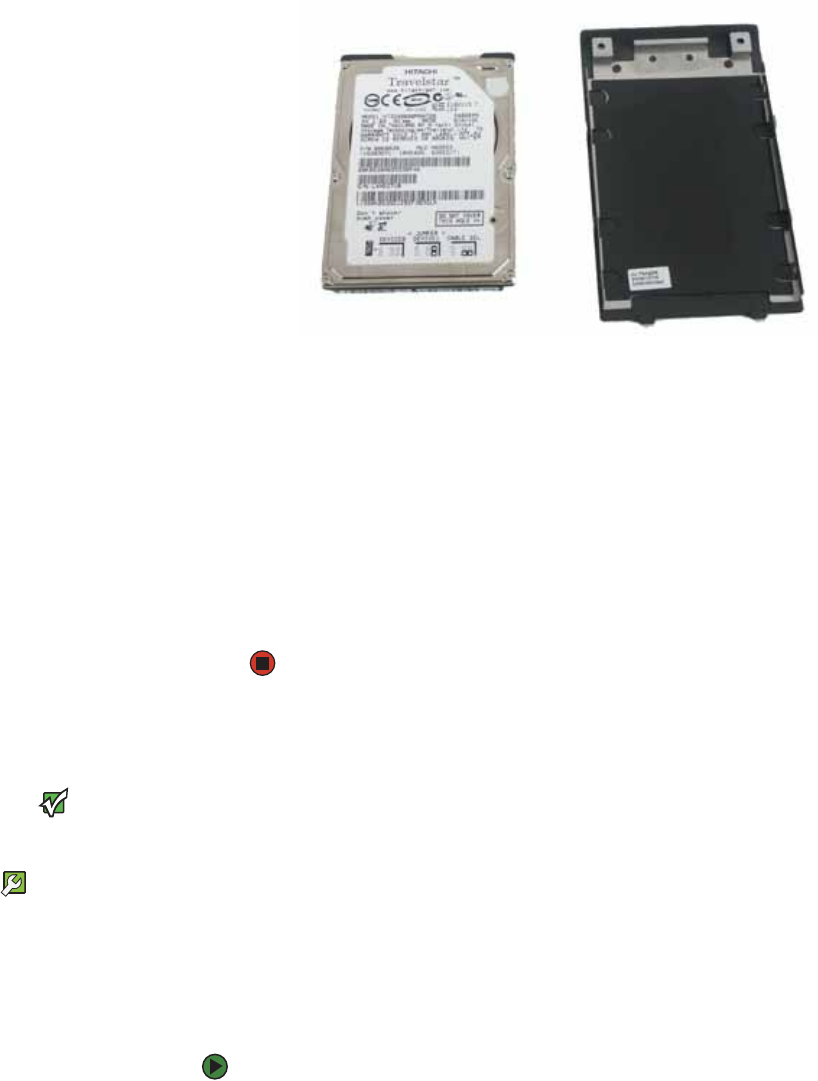
12 Remove the cover from the old drive.
13 Insert the new drive label side up onto the cover so the screw holes line up.
14 Replace the screws that secure the cover to the drive.
15 Slide the new hard drive kit into your notebook, then replace the cover
screws.
16 Insert the battery, then turn your notebook over.
17 Connect the power adapter, modem cable, and network cable, then turn
on your notebook.
18 For instructions on installing Windows, your drivers, and your applications,
see the Recovering Your System chapter you printed in Step 2.
Replacing the keyboard
Important
Replace the keyboard only with a similar
keyboard provided by Gateway.
Tools Required
You need a small Phillips and a small
flat-blade screwdriver to replace the
keyboard.
If your keyboard becomes damaged, you can replace it with a similar keyboard
obtained from Gateway.
Removing the keyboard
To remove the keyboard:
1 Follow the guidelines under “Preventing static electricity discharge” on
page 32.
2 Turn off your notebook.
3 Disconnect the AC adapter, modem cable, and network cable.
4 Disconnect all peripheral devices and remove any PC Cards.
