


- 16 -GA-8PE667 Ultra2 / Pro Motherboard
English
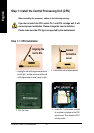
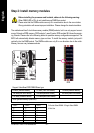
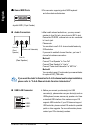
Issues To Beware Of When Installing CNR **
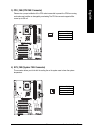
Standard CNR Card
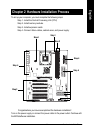
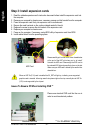
Step 3: Install expansion cards
1. Read the related expansion card’s instruction document before install the expansion card into
the computer.
2. Remove your computer’s chassis cover, necessary screws and slot bracket from the computer.
3. Press the expansion card firmly into expansion slot in motherboard.
4. Be sure the metal contacts on the card are indeed seated in the slot.
5. Replace the screw to secure the slot bracket of the expansion card.
6. Replace your computer’s chassis cover.
7. Power on the computer, if necessary, setup BIOS utility of expansion card from BIOS.
8. Install related driver from the operating system.
When an AGP 2x (3.3V) card is installed the 2X_DET will light up, indicating a non-supported
graphics card is inserted. Informing users that system might not boot up normally due to AGP 2x
(3.3V) is not supported by the chipset.
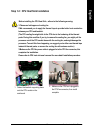
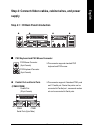
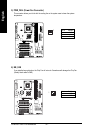
AGP Card
Please carefully pull out the small white- drawable bar
at the end of the AGP slot when you try to install/
Uninstall the AGP card. Please align the AGP card to
the onboard AGP slot and press firmly down on the slot
.Make sure your AGP card is locked by the small white-
drawable bar.
Please use standard CNR card like the one in
order to avoid mechanical problem.
** For GA-8PE667 Ultra2 Only