


results from modifying or refilling HP cartridges is not covered by the HP
warranty.
For best print quality, HP recommends that you install all retail print cartridges before
the date stamped on the box.
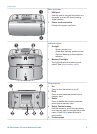
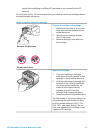
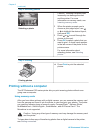
Insert or replace the print cartridge
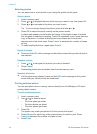
Remove the pink tape
Do not touch here
Prepare the printer and cartridge
1 Make sure the power is on and you
have removed the cardboard from
inside the printer.
2 Open the print cartridge access
door of the printer.
3 Remove the bright pink tape from
the cartridge.
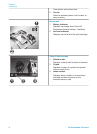
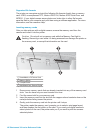
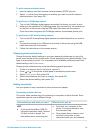
Insert the cartridge
1 If you are replacing a cartridge,
push down and pull outward on the
cartridge in the cradle to remove it.
2 Hold the replacement cartridge with
the label on top. Slide the cartridge
at a slight upward angle into the
cradle so the copper-colored
contacts go in first. Push the
cartridge until it snaps into place.
3 Close the print cartridge access door.
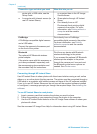
The idle screen of the printer displays an
icon showing the approximate ink level
for the installed cartridge (100%, 75%,
50%, 25%, and nearly empty). No ink-
level icon appears if the cartridge is not
a genuine HP cartridge.
HP Photosmart 320 series Reference Guide 13