


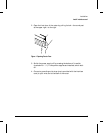
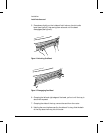
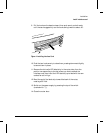
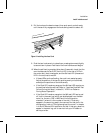
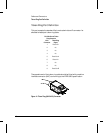
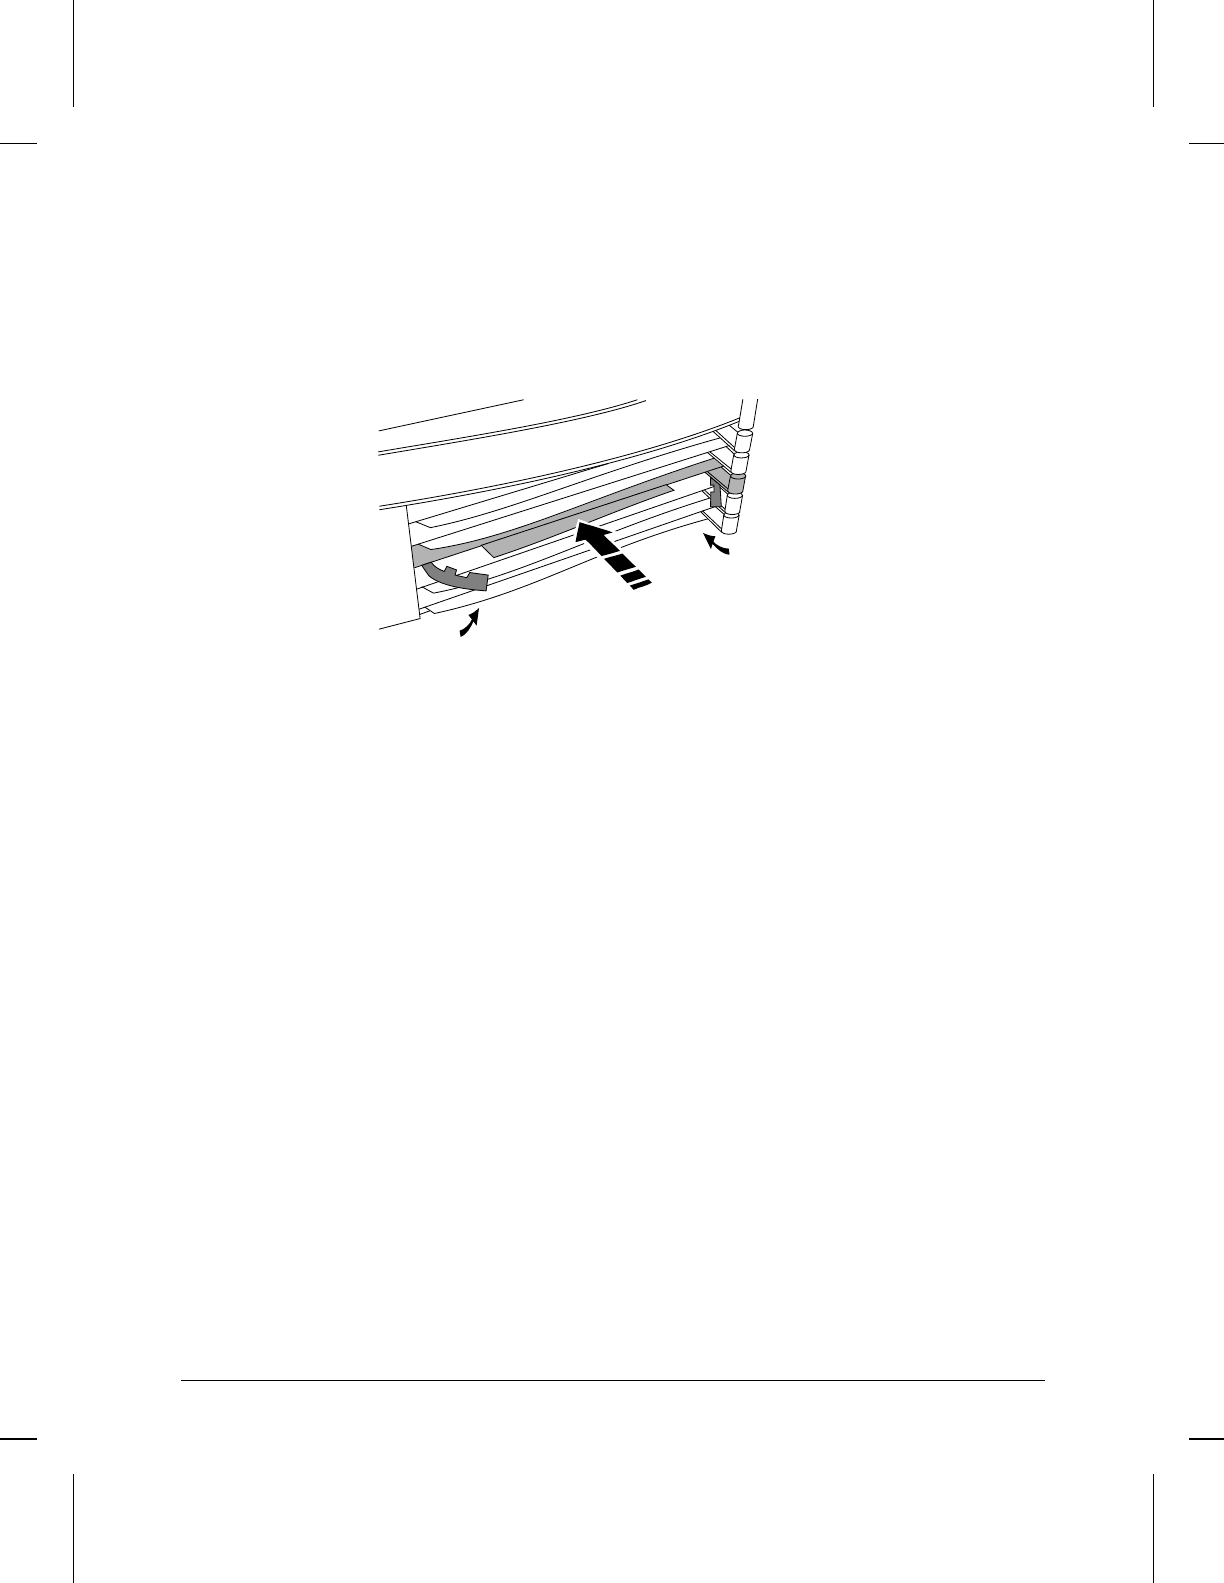
8. Pull the locks on the bezel outward, then push evenly on both ends
until the card fully engages and the locks swing inward to about 45°.
9. Push the two locks evenly to close them, pressing downward slightly
to secure them in place. A self-test of the new interface card begins.
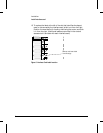
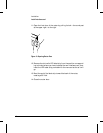
10. When the self-test is complete (after about 5 seconds), check that the
new interface card’s Card LED (the first LED in the row of LEDs in
the router door) has turned green, and the Self-test LED (the second
LED in the row) has turned off.
• If these LEDs continue flashing, the card is not seated properly.
Adjust the position of the card by pushing evenly on both ends,
and adjust the positions of the locks evenly.
• If the Card LED remains orange and the Self-test LED remains on,
the card has failed the self-test. Refer to “Interface Card Self-Test
Failure During Hot Swap” in table 3-2, “LED Error Patterns
During Router Operation.”
• If the Card LED remains orange but the Self-test LED has turned
off, look in the event log (which can be displayed from the Main
menu) for the entry “Slot x HWID and Line configuration
mismatch” (where x is the number of the slot). If that entry
appears in the event log, specify the new card for that slot in the
configuration (refer to “Configure and boot the router” in chapter
1 of the HP Router 650 Installation Guide). If that entry does not
appear in the event log, call for service from your HP dealer or
service provider.
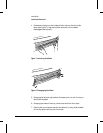
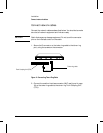
Figure 9. Installing Interface Card
Installation
Install interface card.
11