


10.
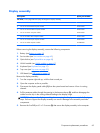
Display assembly (see
Display assembly on page 63)
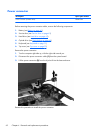
11. Power connector (see
Power connector on page 62)
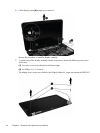
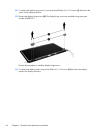
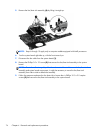
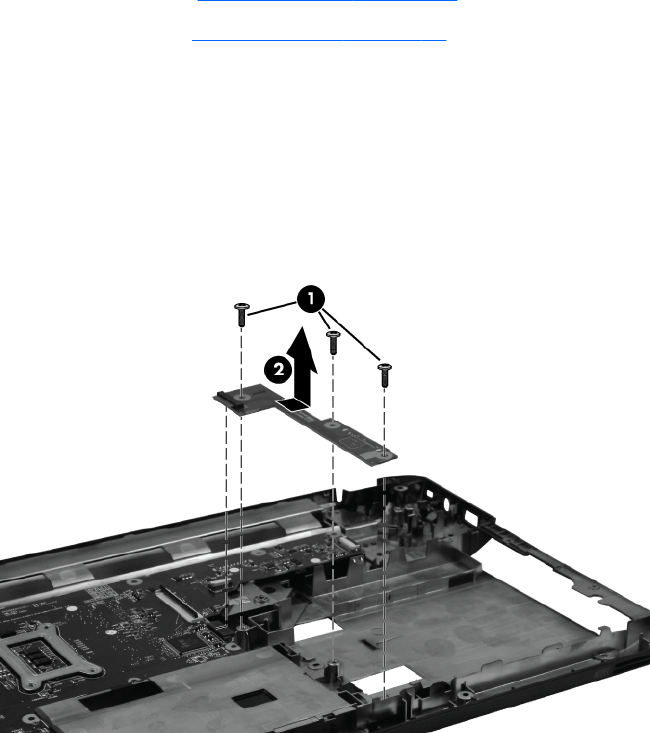
Remove the optical drive connector board:
1. Turn the computer right-side up, with the front toward you.
2.
Remove the three Phillips 4.0 x 2.5 screws (1) that secure the optical drive connector board to the
computer.
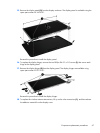
3. Move the optical drive connector board (2) to the right, and then lift it up to disconnect it from the
system board.
Reverse this procedure to install the optical drive connector board.
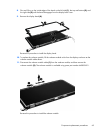
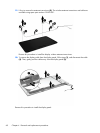
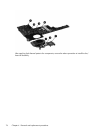
4.
Remove the three Phillips 3.0 x 2.0 screws (1) that secure the system board to the computer.
70 Chapter 4 Removal and replacement procedures