


Use Back button to make any changes to the information for the group.
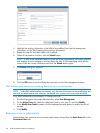
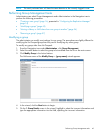
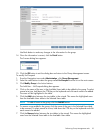
14. Once the information is correct, click the Finish button.
The Success dialog box appears.
15. Click the OK button to exit the dialog box and return to the Group Management screen.
To modify Un-Grouped:
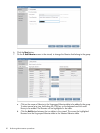
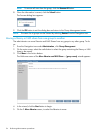
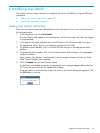
1. From the Navigation tree under Administration, click Group Management.
2. Select the radio button to select the group called Un-Grouped from the list on the main screen.
3. Click Modify Group in the Action buttons.
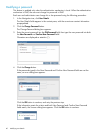
The Add User – Un-Grouped dialog box appears.
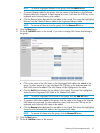
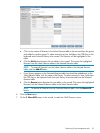
4. Click on the name of the user in the Available Users table to be added to the group. To select
several at a time, hold down the CTRL key on the keyboard and click each name to be added.
The users will be highlighted in the table.
5. Click the Add button between the two tables in the wizard. This moves the highlighted users
from the Available Users table to the Selected Users table.
NOTE: To add all users to the group, click the Add All button.
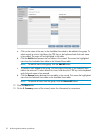
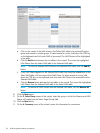
6. To remove a user added to the group, click the name of the user in the Selected Users table
to be removed. To select several at a time, hold down the CTRL key on the keyboard and click
each name to be added.
7. Click the Remove button between the two tables in the wizard. This moves the highlighted
users from the Selected Users table to the Available Users table.
Performing Group Management tasks 53