Removal and replacement procedures
Maintenance and Service Guide 4–61
5. Remove the following components:
a. Hard drive (see “Hard drive” on page 8)
b. Memory module (see “Memory module” on page 10)
c. WLAN module (see “WLAN module” on page 12)
d. WWAN module (see “WWAN module” on page 19)
e. SIM slot board (see “SIM slot board” on page 20)
f. RTC battery (see “RTC battery” on page 22)
g. Optical drive (see “Optical drive” on page 23)
h. Keyboard (see “Keyboard” on page 25)
i. Switch cover (see “Switch cover” on page 29)
j. Speaker assembly (see “Speaker assembly” on page 31)
k. Display assembly (see “Display assembly” on page 32).
l. Top cover (see “Top cover” on page 44).
m. System board (see “System board” on page 53).
n. Fan/heat sink assembly (see “Fan/heat sink assembly” on page 56).
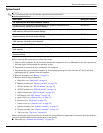
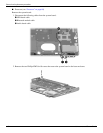
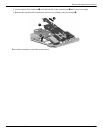
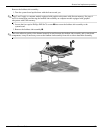
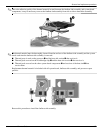
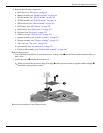
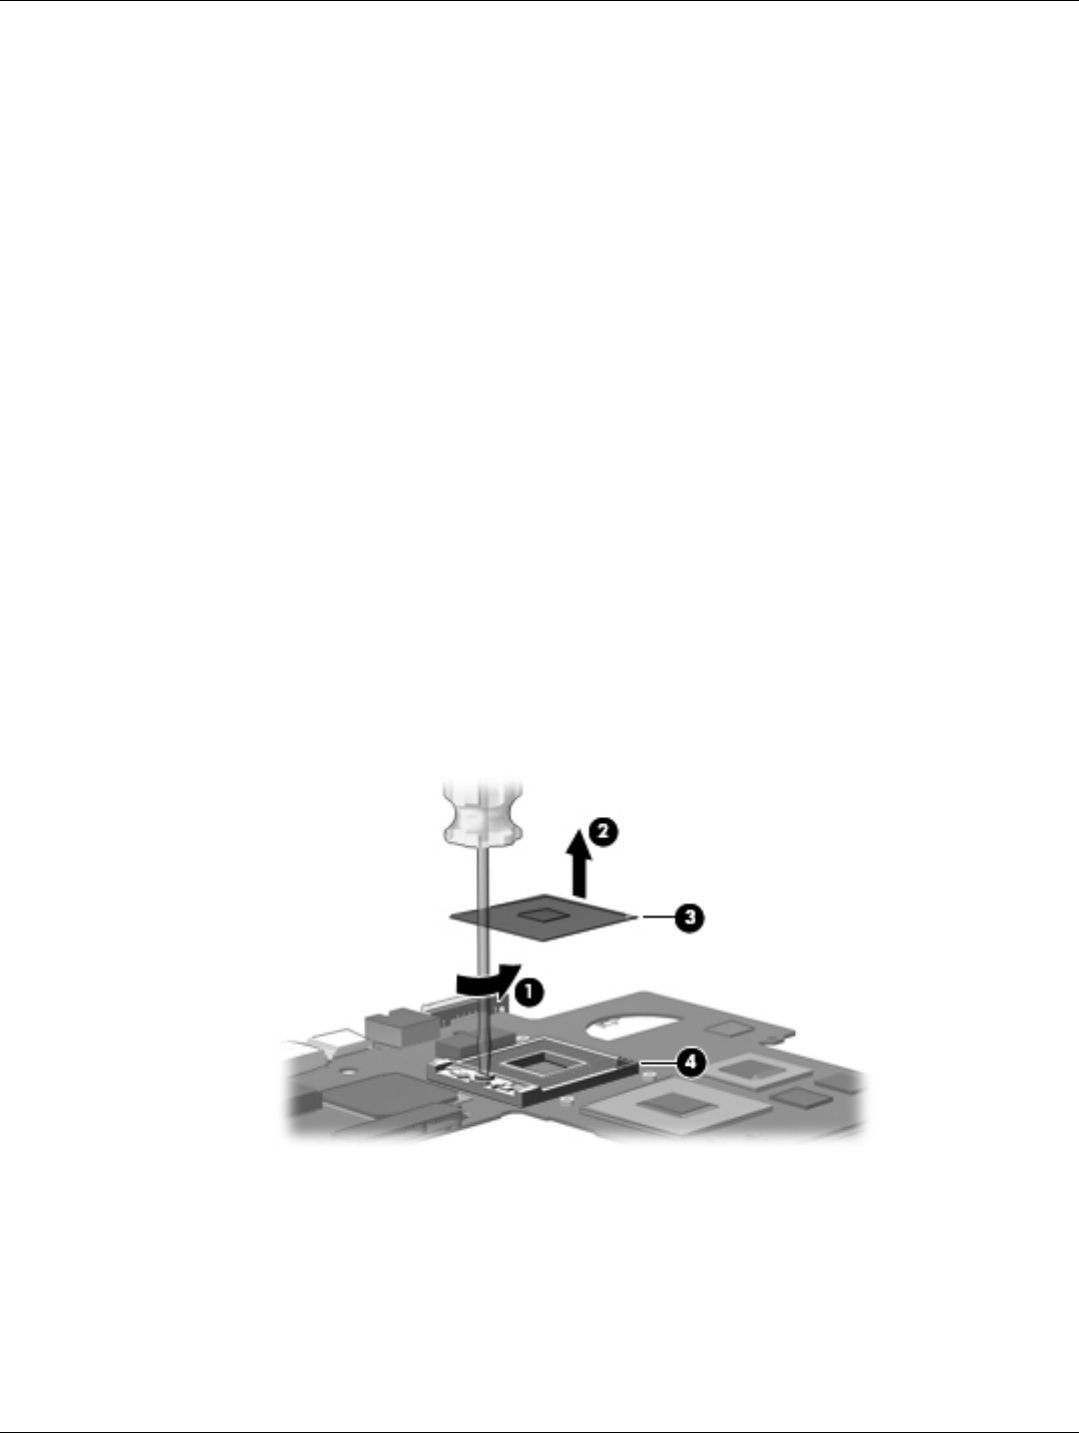
Remove the processor:
1. Use a flat-bladed screwdriver to turn the processor locking screw 1 one-half turn counterclockwise until you
hear a click.
2. Lift the processor 2 straight up and remove it.
✎
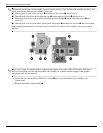
When you install the processor, the gold triangle 3 on the processor must be aligned with the triangle 4
embossed on the processor socket.
Reverse this procedure to install the processor.


