


Hardware options installation 68
19.
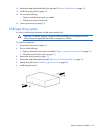
Do one of the following:
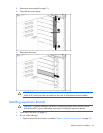
o Close or install the tower bezel, as needed.
o Slide the server back into the rack.
20. Connect all power cords to the server.
21. Connect power cords to the power source.
22. Power up the server (on page 20).
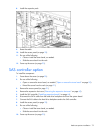
Storage controller option
IMPORTANT: For additional installation and configuration information, refer to the
documentation that ships with the option.
To install the component:
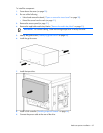
1. Power down the server (on page 20).
2. Do one of the following:
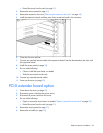
o Open or remove the tower bezel, as needed ("Open or remove the tower bezel" on page 20).
o Extend the server from the rack (on page 21).
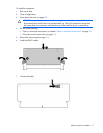
3. Remove the access panel (on page 21).
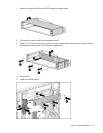
4. Remove the air baffle (on page 22).
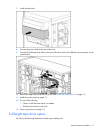
5. Install the storage controller ("Installing expansion boards" on page 64).
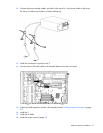
6. Connect the mini-SAS to mini-SAS cable, provided in the mini-SAS to mini-SAS cable option kit, to
the hard drive backplane and to the storage controller.
7. Install the air baffle.
8. Install the access panel (on page 22).
9. Do one of the following:
o Close or install the tower bezel, as needed.
o Slide the server back into the rack.
10. Power up the server (on page 20).
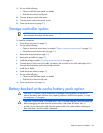
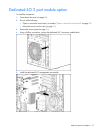
Battery-backed write cache battery pack option
CAUTION: To prevent a server malfunction or damage to the equipment, do not add or
remove the battery pack while an array capacity expansion, RAID level migration, or stripe
size migration is in progress.
CAUTION: After the server is powered down, wait 15 seconds and then check the amber LED
before unplugging the cable from the cache module. If the amber LED blinks after 15
seconds, do not remove the cable from the cache module. The cache module is backing up
data, and data is lost if the cable is detached.