25
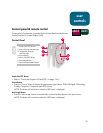
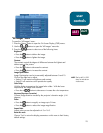
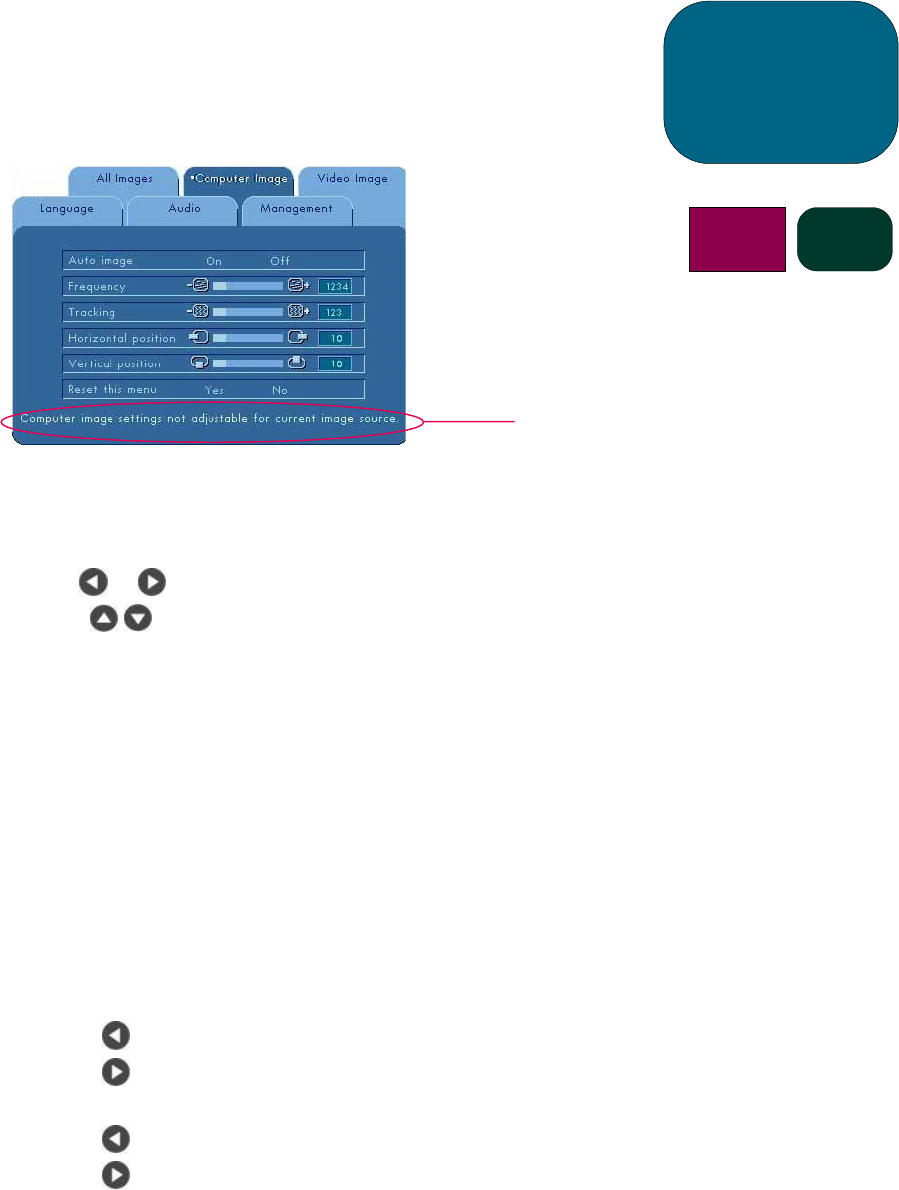
“Computer Image” Menu
To open the “Computer Image” menu:
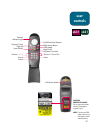
1. Press the “Menu” button to open the On Screen Display (OSD) menus.
2. Use the
or buttons to open the “Computer Image” menu tab.
3. Press the
buttons to select one of the following items:
Auto Image
The projector automatically adjusts frequency, tracking, horizontal and
vertical position. With most signal sources, Auto Image provides the best
results.
Frequency
“Frequency” is the display data frequency. This should match the frequency
of your computer’s graphic card. When you experience a vertical flickering
bar, use this function to make adjustments.
Tracking
Choose “Tracking” to synchronize the signal timing of the display with that
of the graphic card. When you experience an unstable or flickering image,
use this function to correct it.
Horizontal Position
•Press the
button to move the image left.
•Press the
button to move the image right.
Vertical Position
•Press the
button to move the image up.
•Press the
button to move the image down.
Reset this menu
Choose “Yes” to return the display parameters of this menu to their factory
default settings.
user
controls
x
b31 sb21
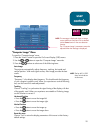
NOTE: This message is displayed when an image
source other than computer VGA is selected
via the Source button or the auto detection
function.
The “Computer Image” parameters cannot be
adjusted when this message is displayed.
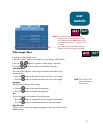
NOTE: The hp sb21’s OSD
does not include an
Audio menu.


