10 - 3
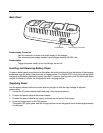
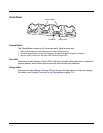
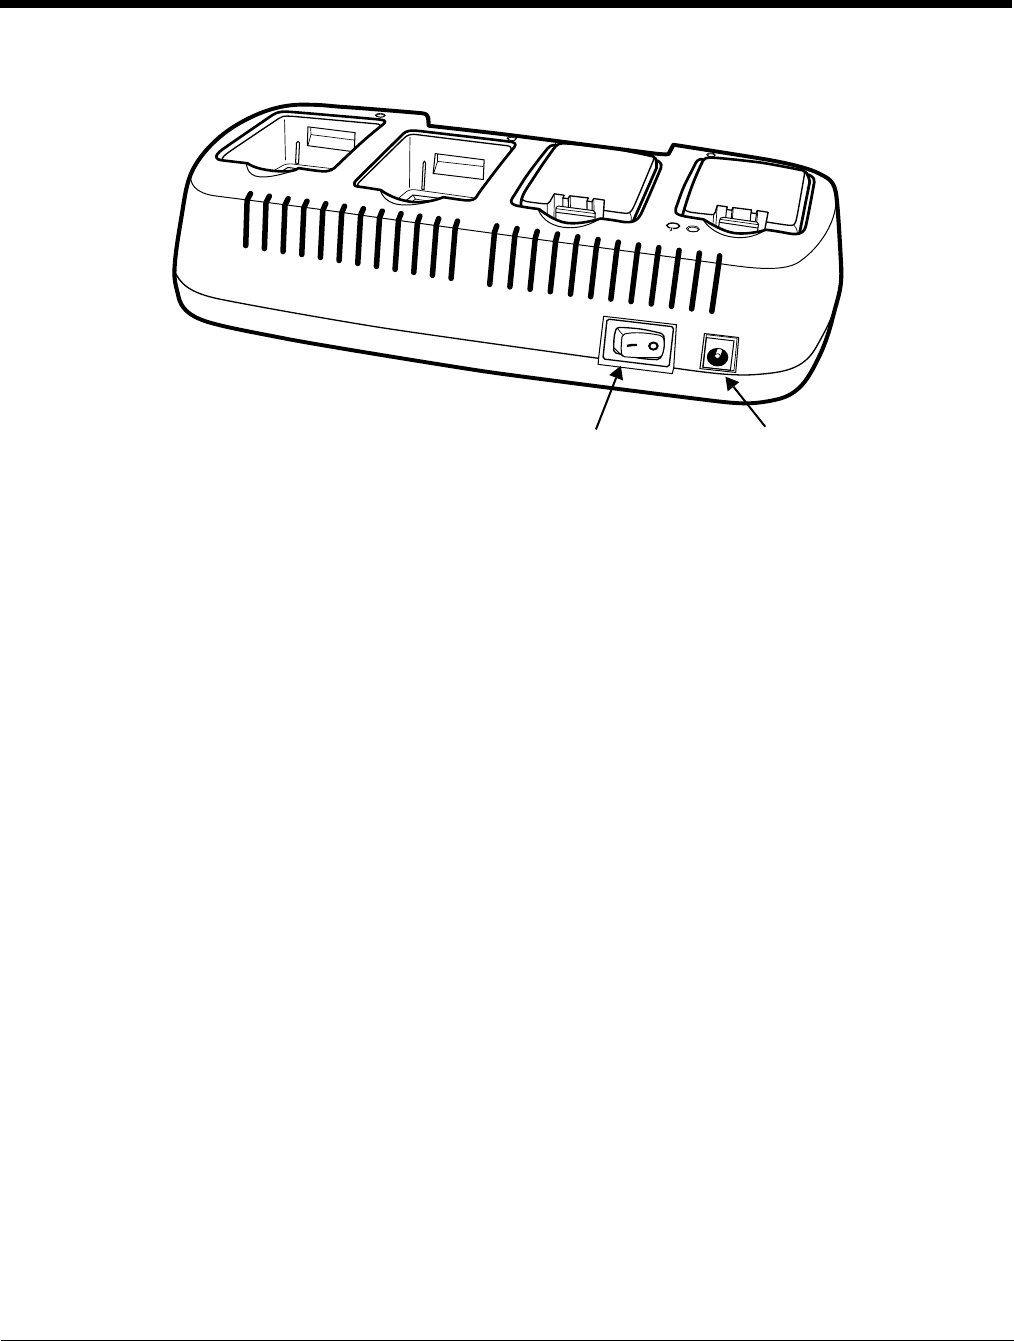
Back Panel
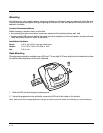
Power Supply Connector
Use this connector to attach the power supply to the charger.
The universal power supply accepts input voltages between 90-265 volts.
Power Switch
Toggle the power switch to turn the charger on and off.
Inserting and Removing Battery Packs
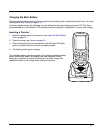
To insert a battery pack, place the end of the battery without the locking tab into the bottom of the charging
pocket and snap the battery into place with a hinging motion. The Status LED for that particular slot lights
orange when the battery has been properly inserted. To remove a battery pack, push the locking tab down
and pull the battery out from the charging slot with a hinging motion.
Supplying Power
Use the power adapter cable that comes with the charger so that the input voltage is adjusted
appropriately.
1. Locate the AC power adapter cable and plug it into the power source.
2. Connect the power cable to the power adapter.
3. Connect the power cable to the supply connector on the back of the charger.
4. Press the power switch to the ON position.
The power LED lights green, and the charger performs a self-diagnostic test that lasts approximately
five seconds.
Power Switch Power Supply Connector


