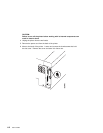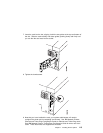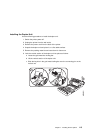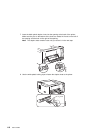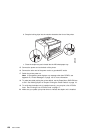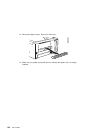
b. Snap the locking clips into the notches located at the front of the printer.
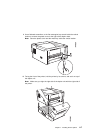
c. Close the duplex tray and reinstall the the 250-sheet paper tray.
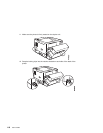
15. Connect the power cord to the back of the printer.
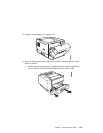
16. Connect the other end of the power cord to a grounded AC outlet.
17. Switch the printer power on.
Note: If the operator panel displays any message other than READY, see
Appendix B, “Printer Messages” on page 161 for more information.
18. To make two-sided printing the printer default, set the Paper Menu DUPLEX item
to ON. See “Making Duplex or Simplex Printing the Printer Default” on page 16.
19. To verify that the duplex unit is installed correctly, you can print a list of PCL5e
fonts. See “Printing a List of PCL5e Fonts” on page 17.
20. Make sure you update your printer driver to indicate the duplex unit is installed.
120 User’s Guide


