


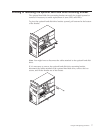
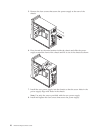
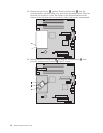
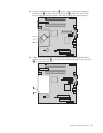
6. Remove the lower drive cage by removing the thumb-screw and sliding the
lower drive cage toward the rear of the computer.
7. Disconnect the cables attached to the drives in the lower drive cage and set
the drive cage to the side.
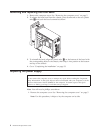
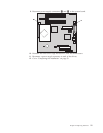
8. Disconnect all cables connected to the system board. See “Identifying parts on
the system board” on page 4.
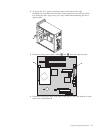
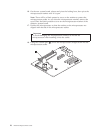
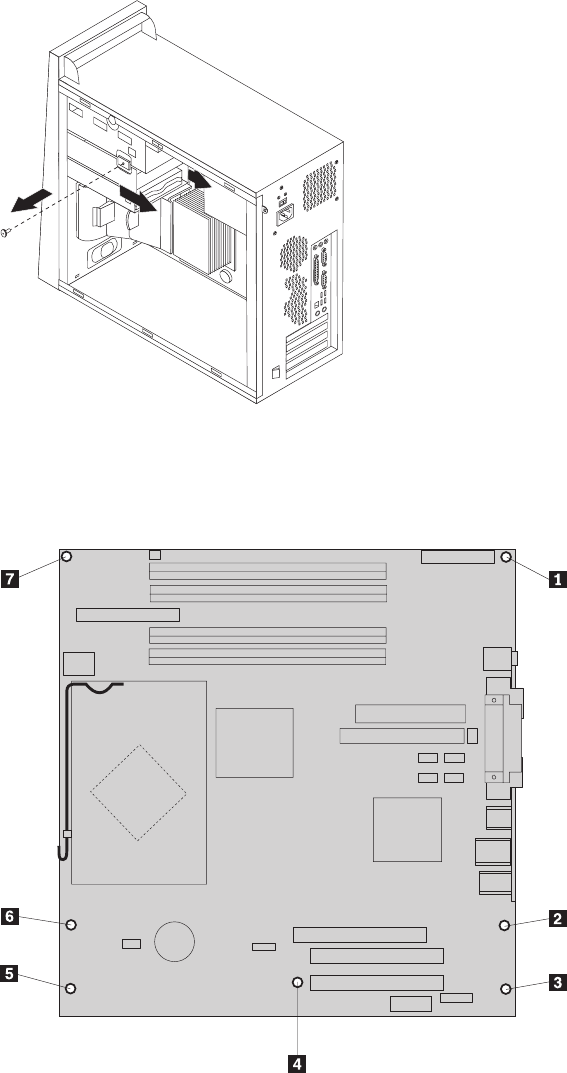
9. Remove screws 1 through 7.
10. Slide the system board toward the front of the computer to disengage it from
the mounting tabs and lift it out.
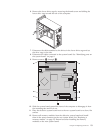
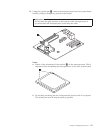
11. Place the defective system board next to the new system board on a clean, flat
surface.
12. Remove all memory modules from the defective system board and install
them in the same connector on the new system board. See “Replacing a
memory module” on page 25. Return here after installing the memory
modules on the new system board.
Chapter 2. Replacing hardware 13