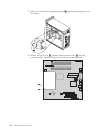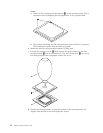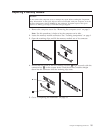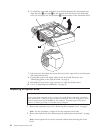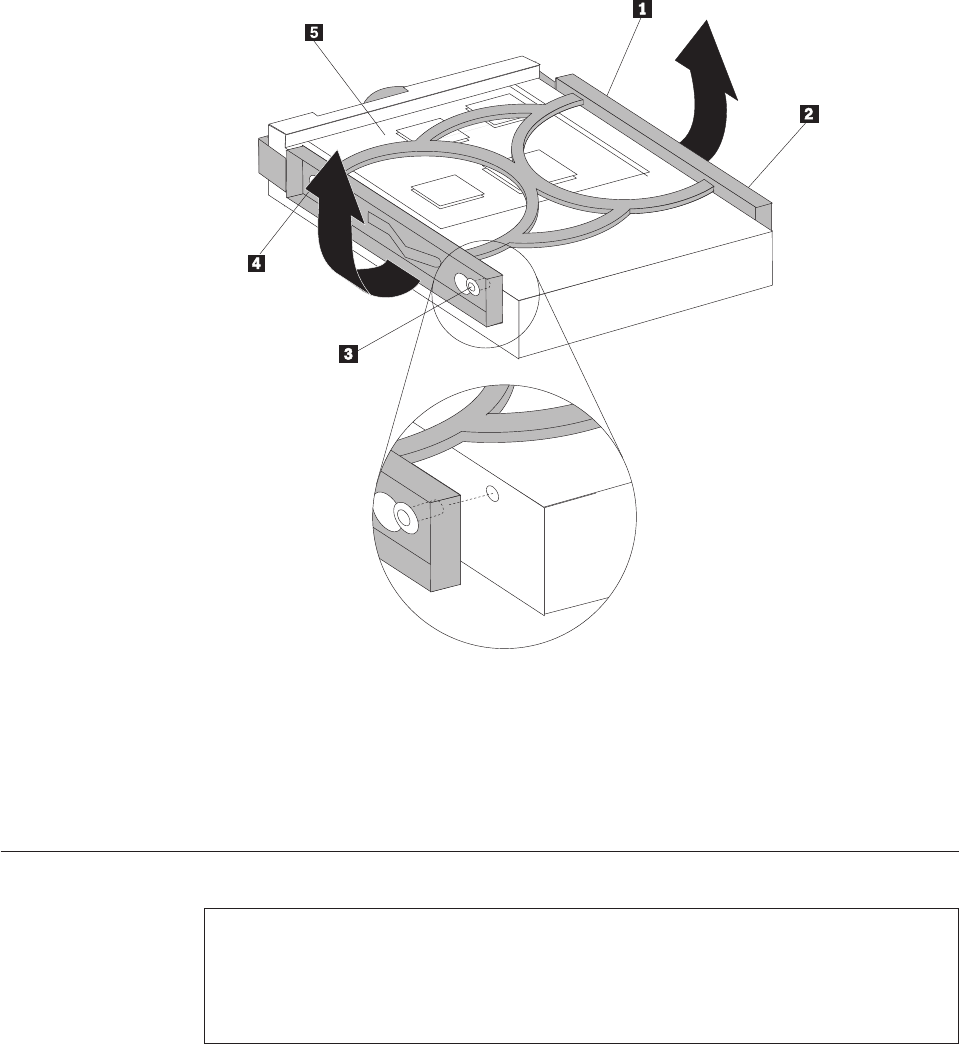
6. To install the new hard disk drive into the blue bracket, flex the bracket and
align the pins 1 through 4on the bracket with the holes in the hard disk
drive. Do not touch the circuit board 5 on the bottom of the hard disk drive.
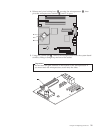
7. Insert the new hard disk drive into the lower drive cage with its circuit board
side facing downward.
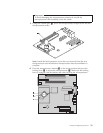
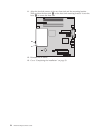
8. Connect the power and signal cables to the new hard disk drive. See
“Identifying parts on the system board” on page 4.
9. Reinstall the lower drive cage and secure it with the thumb screw.
10. Go to “Completing the installation” on page 33.
Replacing an optical drive
Attention:
Do not remove the computer cover or attempt any repair before reading the “Important
safety information” in the Quick Reference that was included with your computer or in the
Hardware Maintenance Manual (HMM) for the computer. To obtain copies of the Quick
Reference or HMM, go to http://www.ibm.com/pc/support.
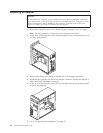
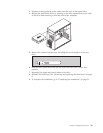
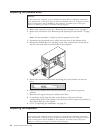
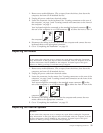
1. Remove the computer cover. See “Removing the computer cover” on page 5.
Note: For this procedure, it helps to lay the computer on its side.
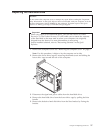
2. Remove the front bezel. See “Removing and replacing the front bezel” on page
8.
Note: Some optical drives can be removed without first removing the front
bezel.
28 Hardware Replacement Guide


