


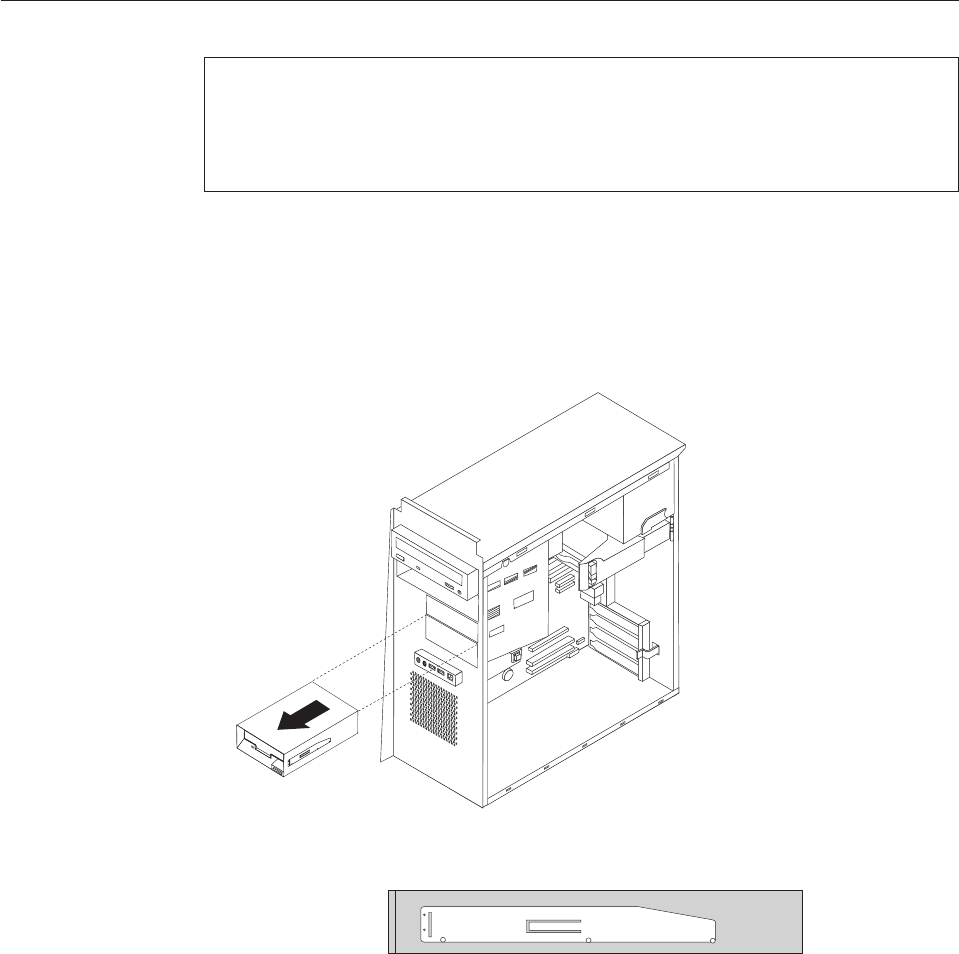
Replacing the diskette drive
Attention:
Do not open your computer or attempt any repair before reading the “Important safety
information” in the Quick Reference that was included with your computer or in the
Hardware Maintenance Manual (HMM) for the computer. To obtain copies of the Quick
Reference or HMM, go to http://www.ibm.com/pc/support/.
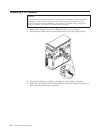
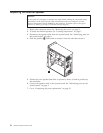
1. Remove the computer cover. See “Removing the cover” on page 5.
2. Remove the front bezel. See “Removing and replacing the front bezel” on page
6.
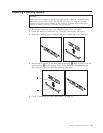
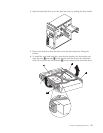
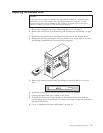
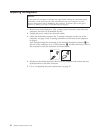
3. Disconnect the signal and power cables from the rear of the diskette drive.
4. Release the drive by pressing on the blue retainer lever at the side of the drive
and sliding it outward from the front of the computer.
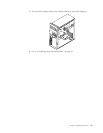
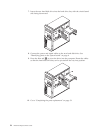
5. Remove the retainer bracket from the failing drive and install it on the new
drive.
6. Install the diskette drive into the bay until it snaps into position.
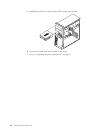
7. Connect the signal and power cables to the drive.
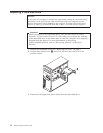
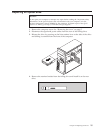
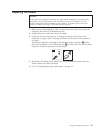
8. To install the new bezel, align the tabs on the bottom of the bezel with the
corresponding holes in the chassis. Pivot the bezel until it snaps into position at
the top of the chassis.
9. Go to “Completing the parts replacement” on page 31.
Chapter 2. Replacing hardware 27