Quick Start Guide—Intel
®
IXDP465 Development Platform
AN Intel
®
IXDP465 Development Platform May 2005
Order Number: 305825, Revision: 002 21
9.0 Preparing the Platform for Initial Use
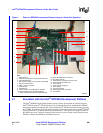
After unpacking the board and before powering on the board, the IXDP465 development platform
needs to be prepared for first time use.
To prepare the platform, follow these steps:
1. Verify that all default switch settings in Table 3 on page 10 are checked off.
2. Verify that all default jumper settings in Table 4 on page 12, Table 5 on page 15, and Table 6
on page 17 are checked off.
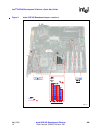
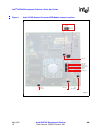
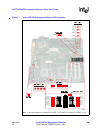
3. Confirm that either one of two boot options is selected, controlled by jumper(s) JP127 (A24)
and JP128 (A23) as shown in Figure 3 on page 14.
• For RedBoot, install both JP127 and JP128.
• For VxWorks, install JP127 only.
4. Install the Intel
®
PRO/100+ Adapter into PCI slot 0. Connect the straight Ethernet cable
provided with the IXDP465 development platform and connect to a hub.
Note: An alternative option is to use a cross-over Ethernet cable between the Intel
®
PRO/100+ Adapter and the host system.
5. Connect the serial cable between COM1 on the host system:
• to UART0 for Linux* developers
• to UART1 for VxWorks* developers
Table 8 shows the UART serial communication values.
.
10.0 Starting the Platform
To start the platform, follow these steps:
1. Verify that the power switch is in the OFF position on the Autec Power Systems* power
supply provided with the IXDP465 development platform.
2. The power module plugs into the baseboard through a standard ATX 20-pin power supply
connector (P1). Connect the ATX power supply cable to ATX connector on the IXDP465
development platform.
3. Power on the board by flipping the black switch on the power supply.
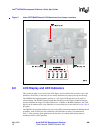
4. Verify that all LED illuminations match the defaults settings listed in Table 7 on page 19.
Table 8. UART Communications Configuration
Parameter Linux* Value VxWorks* Value
Port UART0 UART1
Bits per Second 115,200 9,600
Data Bits 8 8
Parity None None
Stop Bit 1 1
Flow Control None None


