


16
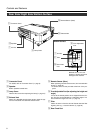
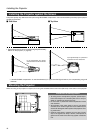
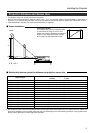
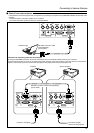
Installing the Projector against the Screen
Installing the Projector
The picture quality may deteriorate when performing KEYSTONE compensation. It is recommended to place the projector perpen-
dicularly to the screen.
Ⅵ Side View Ⅵ Top View
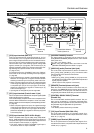
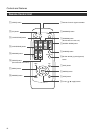
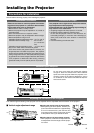
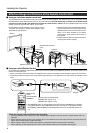
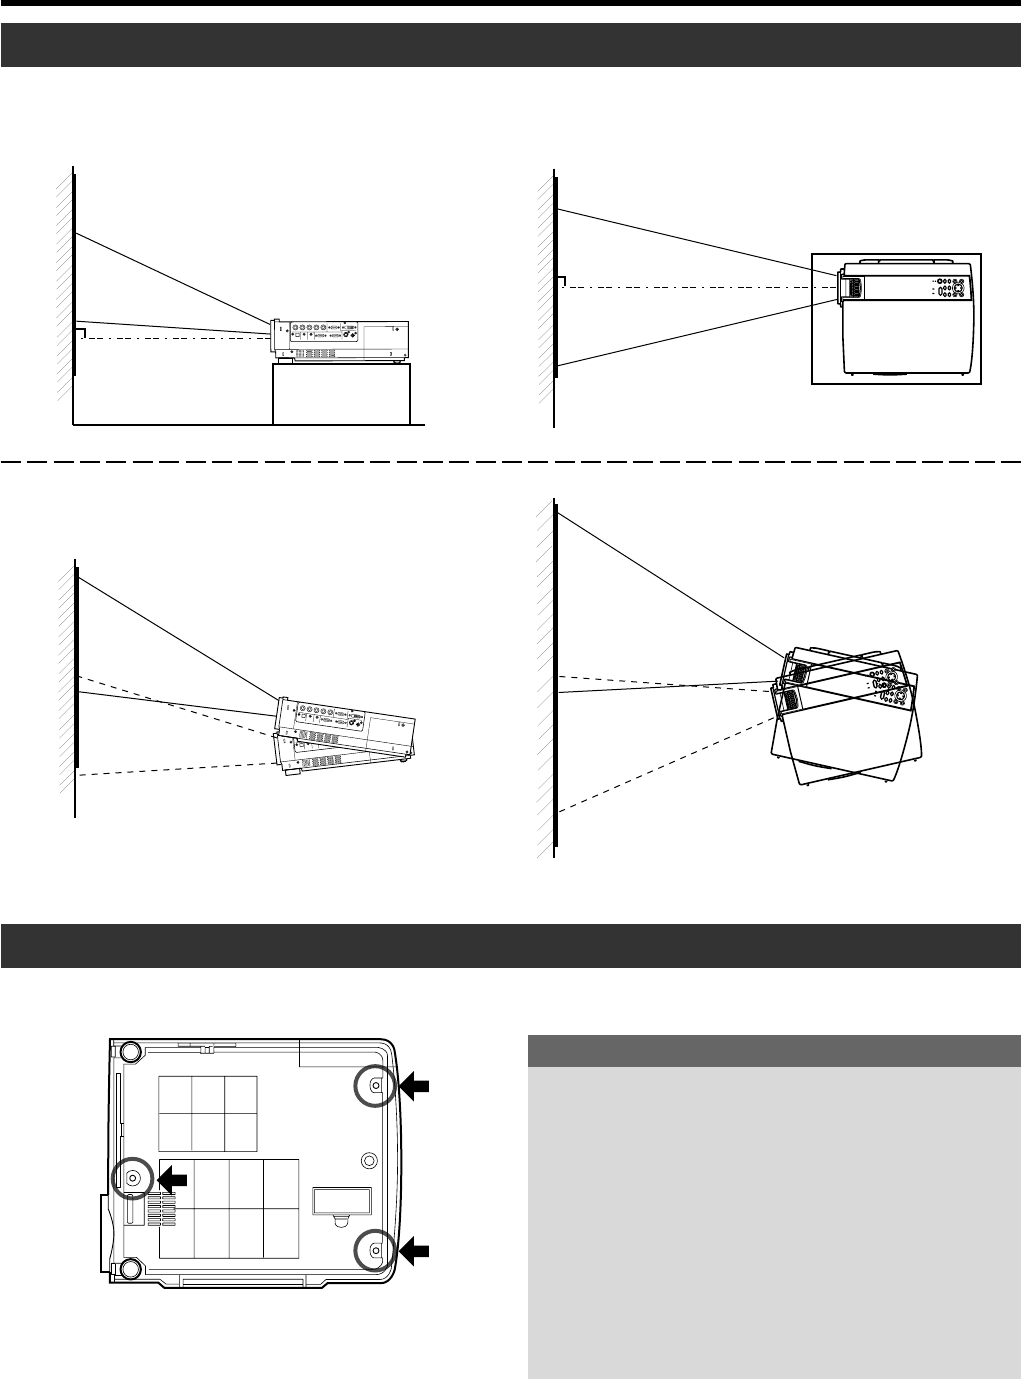
Mounting the Projector
When mounting of the projector is required, do it using the embedded three screw holes (M6 nuts) at the bottom of the projector.
Precaution for ceiling-mount
•To ceiling-mount and adjust the projector, special exper-
tise and techniques are necessary. Be sure to ask your
dealer or specialist to perform the work.
• Do not mount on places that will be subjected to knocks
and vibrations.
• As the depth of the screw holes is 10 mm, use screws
shorter than 10 mm but longer than 6 mm. Otherwise, the
screws will damage the internal parts of the projector caus-
ing malfunction.
• Install at a safe place in case this unit or a part of it may
drop. If the light-source lamp is broken, small pieces of
glass from the mesh of the filter may appear outside this
unit.
Up to approximately 30° upward
and downward from the horizontal
line.
Up to approximately 10° upward and
downward from the vertical line.
•Trapezoidal-distortion can be corrected using the [KEYSTONE]*
buttons on the projector. (☞ page 30)
* If the KEYSTONE compensation is used simultaneously for upper/lower/left/right directions, the compensating range will
decrease.