


38
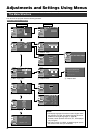
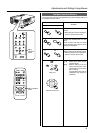
8 “Logo” menu
Adjustment item (press
ᮡ
/
ᮢ
) Adjustment content (press
ᮤ
/
ᮣ
)
“Logo disp.” Sets whether to indicate the user set logo
(captured image: “Logo disp.”) when the
projector starts up.
{“ON”}
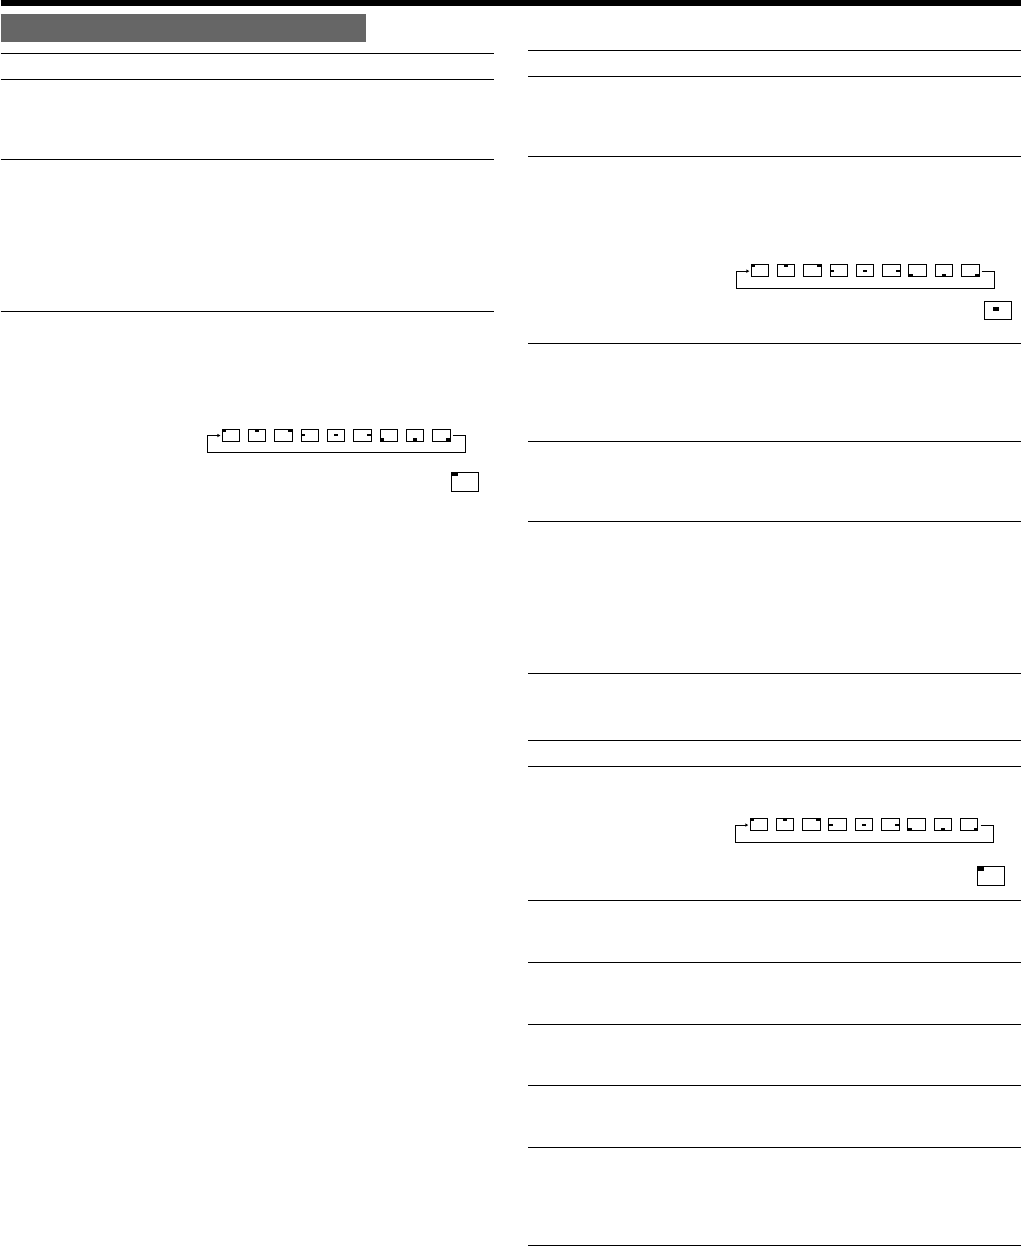
“Logo pos.” Sets the position of the user set logo (cap-
tured image: “Logo disp.”) when the pro-
jector starts-up. Re-setting can be per-
formed only when the logo has been
eliminated.
Set value :
“Logo pos.” :
“Back color” Selects the background color of the user
set picture (captured image: “Logo disp.”).
{“Black”}
Re- setting can be performed only when
the logo has been eliminated.
“Logo delete” Deletes the user set logo (captured
image: “Logo disp.”). Deletion takes a few
seconds.
[ Press the [ENTER] button to delete.
“Capture menu” You can project a picture from the video
player or PC and capture it to use as your
logo.
The captured picture can be displayed as
a logo display when the projector starts
up.
[ Press the [ENTER] button to enter the
“Capture menu” 9.
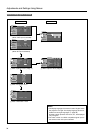
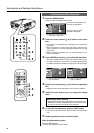
9 “Capture menu”
Adjustment item (press
ᮡ
/
ᮢ
) Adjustment content (press
ᮤ
/
ᮣ
)
“Menu pos.” Adjusts the display position of the cap-
ture menu.
Set value :
“Menu pos.” :
“Horiz. move” The position of the picture that you want
to capture can be moved left or right with
the cursor buttons (
ᮤ
/
ᮣ
).
“Vert. move” The position of the picture that you want
to capture can be moved up or down with
the cursor buttons (
ᮤ
/
ᮣ
).
“Horiz. size” The width of the picture that you want to
capture can be set by the cursor buttons
(
ᮤ
/
ᮣ
).
“Vert. size” The height of the picture that you want to
capture can be set by the cursor buttons
(
ᮤ
/
ᮣ
).
“Capture start” After setting all the items of the capture
menu, image capture starts.
❈ Note that images already inputted will
be deleted.
[ Press the [ENTER] button to start.
Adjustments and Settings Using Menus
When there is no image signal inputted
Adjustment item (press
ᮡ
/
ᮢ
) Adjustment content (press
ᮤ
/
ᮣ
)
“Position” Adjusts the position of the image and
menu display.
[ Press the [ENTER] button to enter the
“Position” menu 4.
“Sync level” Although the inputted image signal is
adjusted so that synchronization occurs
automatically, this changes by changing
this setup.
Setting can be made by selecting “Low”
(weaker), “Std” (factory set) or “High”
(stronger).
Values : “Low”, “Std”, “High” {“Std”}
4 “Position” menu
You can adjust the menu display position. Press the (
ᮡ
/
ᮢ
) cursors to
set the horizontal/vertical position of the menu display.
Set Value :
“Menu pos.” :
“Horiz. disp. pos.” : Varies with signals.
“Vert. disp. pos.” : Varies with signals.
“Horiz. DIST pos.” : –8 - +7 {0}
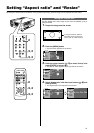
5 “Aspect ratio” menu
Press the cursor (
ᮤ
/
ᮣ
) to set the aspect ratio of image.
(☞ page 41, 42)
Setting value : “4:3”, “16:9”, “Zoom” * {varies with signals}
* When creating a 16:9 image with black bars above and below the
screen from the signal with original aspect ratio of 4:3, the image will
be enlarged to full screen on the panel if “Aspect ratio” is set to “Zoom”.
6 “Decoder” menu
Press the (
ᮡ
/
ᮢ
) cursor buttons to choose the “Decoder” of the image
signals. Normally, “AUTO” is selected. When “AUTO” does not function
or when there is error, select the appropriate color system according to
the software player.
Values : “AUTO”, “NTSC”, “NTSC4.43”, “PAL”, “SECAM”
{“AUTO”}
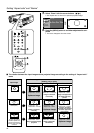
7 “Resize” menu
Press the cursor (
ᮤ
/
ᮣ
) to resize.
(☞ page 43, 44)
Setting value : “1:1”, “Panel”, “Aspect”, “Zoom”
{varies with signals}
“1:1” : The image is displayed at the inputted resolution.
“Panel” : The picture image projected is virtually enlarged
to the full screen size if the inputted resolution is
smaller than (1400 pixels x 788 pixels).
“Aspect” : While maintaining the original aspect ratio, the
video image projected is virtually enlarged until ei-
ther the horizontal or vertical side reaches the full
size (1400 pixels x 788 pixels).
“Zoom” : The picture image projected is virtually enlarged
to the full screen size if the 16:9 image is created
with black bars above and below the screen from
the signal with original aspect ratio of 4:3.
(When PC input is
selected)
{ }
¥¥¥¥¥¥¥¥
¥¥¥¥¥¥¥¥
{ }
¥¥¥¥¥¥¥¥
{ }