23
1 Check to ensure that this projector, computer, and switching hub are properly connected
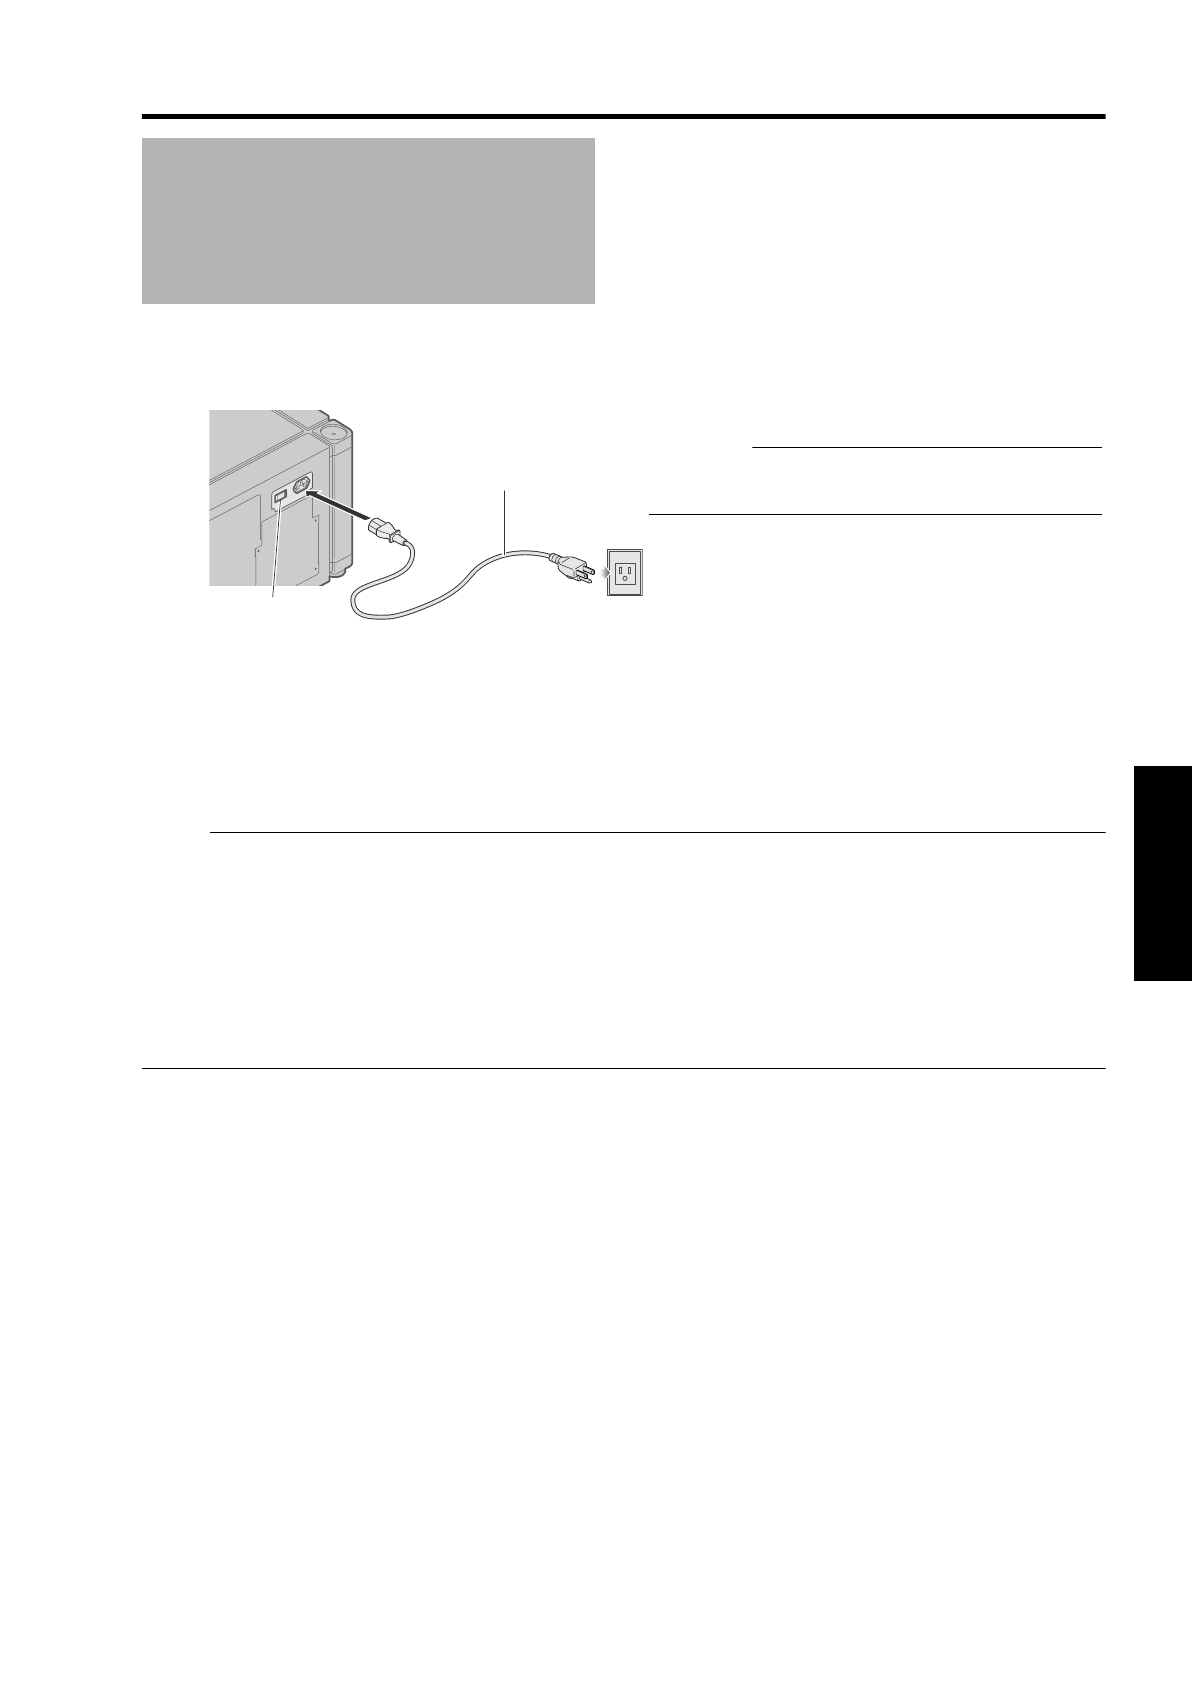
2 Connect the power cord to the power input terminal of this projector
3 Insert plug into the power outlet on the wall
4 Remove the lens cap
5 Turn on the main power of the projector to set to [I]
● The [STANDBY/ON], [LAMP], and [WARNING] indicators light up for about 45 seconds, after which the
[STANDBY/ON] indicator turns red.
NOTE:
● The default IP address of all DLA-SH4KNL is “192.168.0.2”. If multiple units of DLA-SH4KNL are used on the same
network, do not turn on the main power of more than one projector unit at the same time. Doing so will result in
duplication of the IP address, and thereby preventing proper access.
● When using multiple units of DLA-SH4KNL, turn on the main power of the second unit and configure accordingly only
after configuration of the first unit is complete. Configure subsequent units using the same procedure.
● When duplication occurs in the IP address, make sure that only one unit of DLA-SH4KNL is connected on the same
network (turn off the main power of the other DLA-SH4KNL units). Allow a time interval of at least 10 minutes before
accessing. If access fails, turn off the power of all network equipments on the same network, followed by turning them
on again.
Turning On the Main
Power
5
2
3
CAUTION:
● Do not connect the power cord when a lens (optional)
is not attached.
Power Cord
(Supplied)
DLA-SH4KNL_EN.book Page 23 Thursday, June 12, 2008 4:25 PM


