


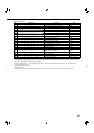
17
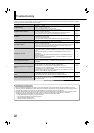
INFORMATION
Settings for the information display of the monitor
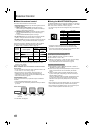
Item To do Setting value
POSITION
Select the position to show the information display (☞ “On the Information
Display” on page 11).
UPPER, LOWER
SOURCE ID Select whether the name assigned in “CHARACTER SET.” is displayed on the
screen (☞ “On the Information Display” on page 11).
When “AUTO” is selected, the display color synchronizes with the color of
the tally lamp while the tally lamp is lit.
•
OFF, ON, AUTO
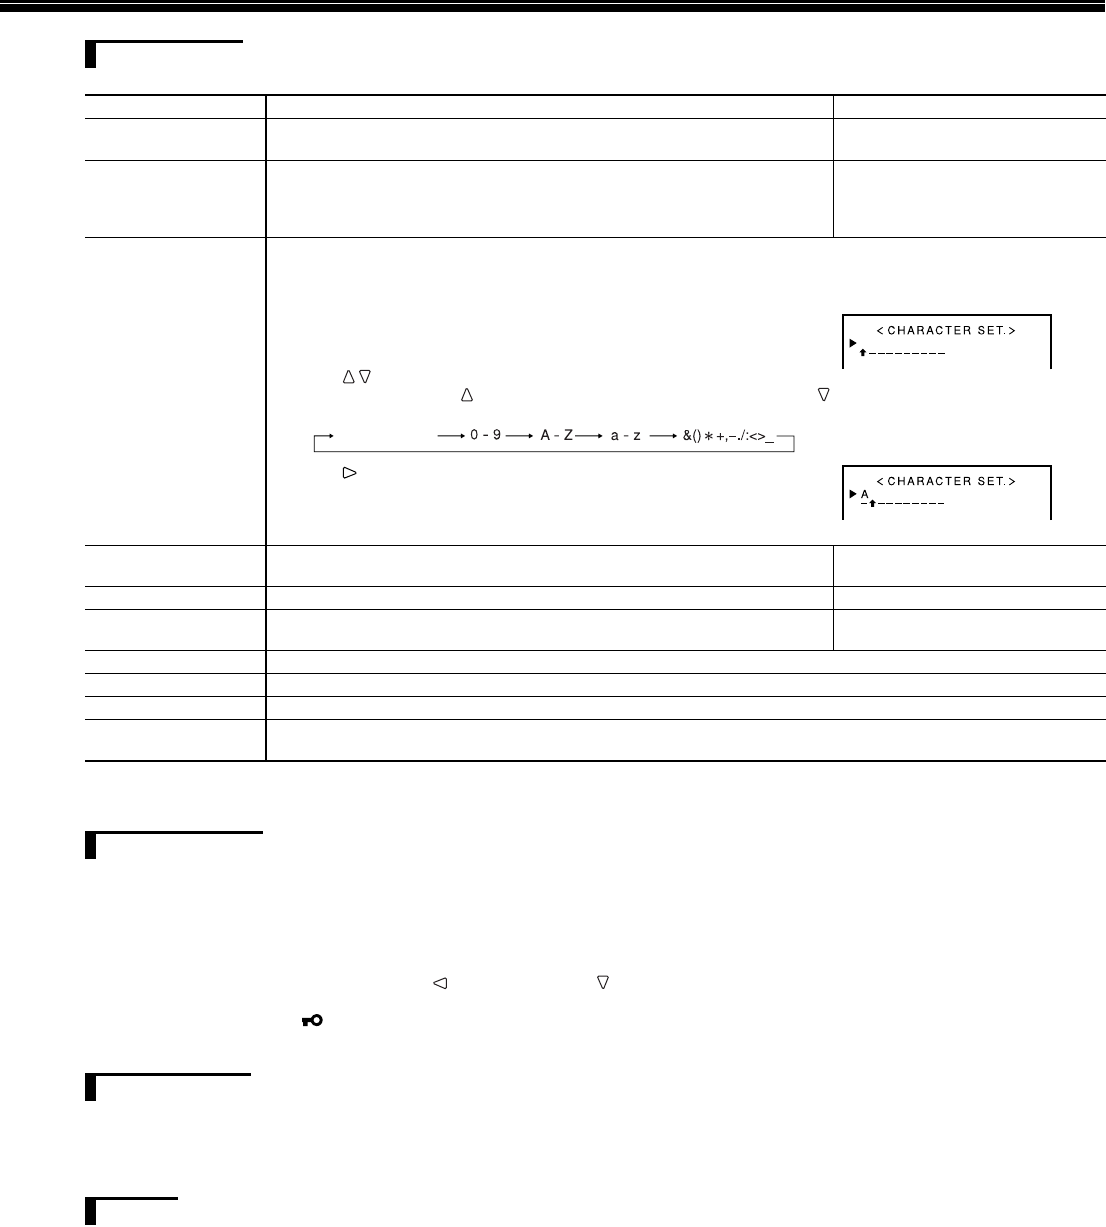
CHARACTER SET.
*1
Assign a name to each video source as you like (10 characters at maximum).
You can also enter a name using the RS-232C system.
Setting of “CHARACTER SET.”
1
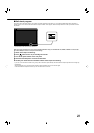
Change the input to one that you want to assign a video source name for.
2
Select “CHARACTER SET.”
3
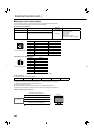
Press buttons to select the fi rst character.
Each time you press
button, the character changes as follows. Press
button to reverse the order.
Space
•
4
Press button to move the arrow to the next space.
The characters entered before moving the arrow are memorized.
5
Repeat steps 3 and 4 (10 characters at maximum).
6
Press MENU button to store the name.
•
STATUS DISPLAY Select whether the status of the current input and the setting of MUTING are
displayed on the screen (☞ “On the Status Display” on page 11).
AUTO, OFF, ON
TIME CODE Select the type of the TIME CODE display. VITC*
2
, LTC*
2
, D-VITC
CRC ERROR Select whether the CRC error indication for the input HD SDI signal is
displayed on the screen (☞ “On the Information Display” on page 11).
OFF, ON
SUB HOUR METER Display the hours of use (unit: hour). You can reset this item.
MODEL Display the model name of the monitor.
VERSION Display the version of the monitor.
HOUR METER Display the total hours of use (unit: hour). This item is used for maintenance of the monitor. You cannot reset this
item.
*1
Memorized for each input.
*2
Ancillary time code
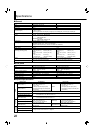
CONTROL LOCK
Setting value: OFF, VOL.LOCK, ALL LOCK
Settings for disabling the buttons on the front panel.
The following operations are not available when “VOL.LOCK” is selected.
VOLUME adjustment knob
Picture adjustment knob
The “ALL LOCK” function disables to control the buttons on the front panel. But following operations are available.
Turning on/off (on standby) the monitor
Displaying the SET-UP MENU (by pressing
button while holding button) and turning “CONTROL LOCK” to “OFF”
Operating the monitor by an external control
If you try other operations, “ Control lock on!” appears on the screen.
DVI INPUT SEL.
Setting value: AUTO, COMPO., RGB, PC
When “AUTO” is selected, the format of signals come in to the DVI-D (HDCP) terminal is automatically recognized. (Normally, select “AUTO.”)
Select “COMPO.,” “RGB” or “PC” when the picture is not displayed correctly with “AUTO.”
DVI-D input of the monitor is compatible with HDCP.
all reset
Restores all the settings and adjustments of the monitor to the default.
“HOUR METER” and the settings done by using the adjustment knobs on the front panel will not be reset.
After performing “all reset,” the monitor is turned off then turned on automatically.
•
–
–
•
–
–
–
•
•
•
•