


14
Basic Operations
Daily Operations
1
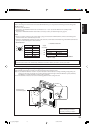
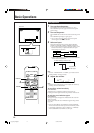
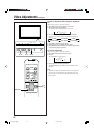
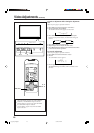
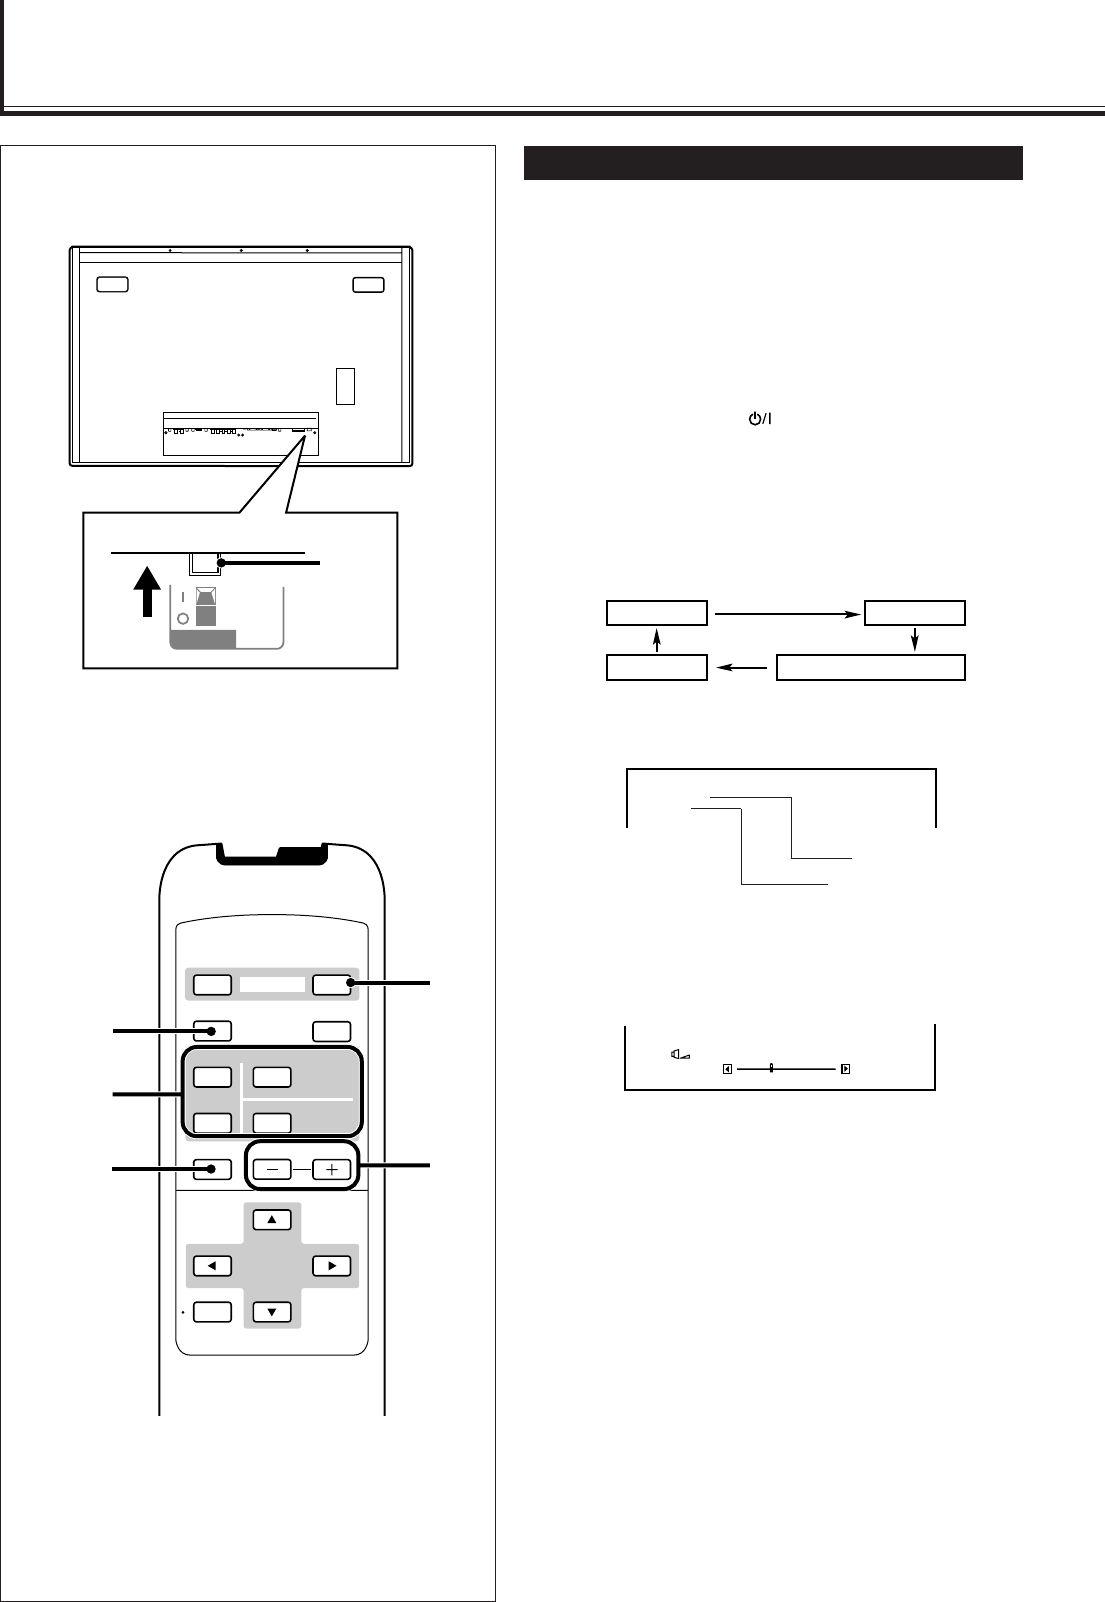
Turn on the main power.
Set POWER on the back of the Monitor to “| (on)”.
The POWER lamp on the upper left of the front panel
glows orange.
2
Turn on the power.
Press POWER ON on the remote control to turn the power
on.
The POWER lamp changes to glow green.
• You can also use the
button on the front panel
(lower right) to turn on the Monitor.
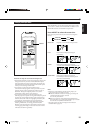
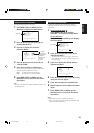
3
Select an input.
Select the desired input by pressing INPUT SELECT
(VIDEO A, VIDEO B, COMPO./(RGB B) and RGB A).
• You can also select the input by pressing INPUT on the
Monitor. Each time you press the button, the input
mode changes in sequence.
• Only for GM-V42PCE, GM-V42PCEG and GM-V42PCEB:
You can select only RGB A.*
Note:
• To select “COMPONENT” or “RGB B,” you need to set the
“RGB/COMPO.” setting correctly.
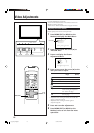
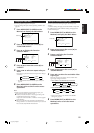
4
Adjust the volume.
Note:
• While no menu is displayed, you can adjust the volume by
pressing 2 / 3 on the Monitor.
To turn off the volume immediately
Press MUTING.
“MUTING ON” is displayed, and the sound goes out.
Pressing the button again resumes the previous volume level.
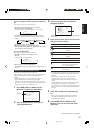
To make the screen indication appear
Press DISPLAY.
The types of input and signal are indicated on the screen for
about 3 seconds.
You can also make the screen indication appear using menus
(page 24).
* Only for GM-V42PCE, GM-V42PCEG and GM-V42PCEB:
You need to install the video input unit (IF-C42P1G), which
is separately purchased, to select “VIDEO A,” “VIDEO B,”
and “COMPONENT (or RGB B)” as the input.
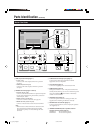
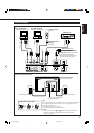
VIDEO A VIDEO B
RGB A COMPONENT or RGB B
Rear View
VIDEO A
NTSC
Input selected
Input video signal
Ex. When selecting “VIDEO A” input
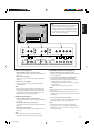
: 10
VOLUME
+
–
1
POWER
VIDEO
DISPLAY
OFF POWER
RM–C579 REMOTE CONTROL UNIT
ON
ASPECT
MUTING
MENU/EXIT
VOLUME
A
COMPO.
/(RGB B)
B RGB A
INPUT SELECT
4
3
2
MUTING
DISPLAY
14_23_GM_V42[E].p65 03.6.23, 4:42 PM14